Good Morning All and a Happy Tuesday! Today is my turn to design a project fro Creative Expressions and I thought I'd show you a gift idea that might be great for Mother's Day or possibly, an anniversary.
Start by covering the Pronty MDF Baroque Square Photo Frame with Tim Holtz Vintage Shabby Paper.
Apply Flake and Glitter Glue to the A6 Fern Background Stamp and without using an acrylic block, randomly stamp over the frame. Apply Cosmic Shimmer Silver Moon Gilding Flakes.
Paint the backing board with White Eco-Green Acrylic Paint as well as the edges of the front frame and the aperture.
Die cut 2 Spellbinder Circles, 1 from the patterned paper and a smaller one from Coconut White Cardstock. Stamp the sentiment from the Artsy Floral A5 stamp set onto the white card using Black Archival Ink and heat emboss with Cosmic Shimmer Clear Powder.
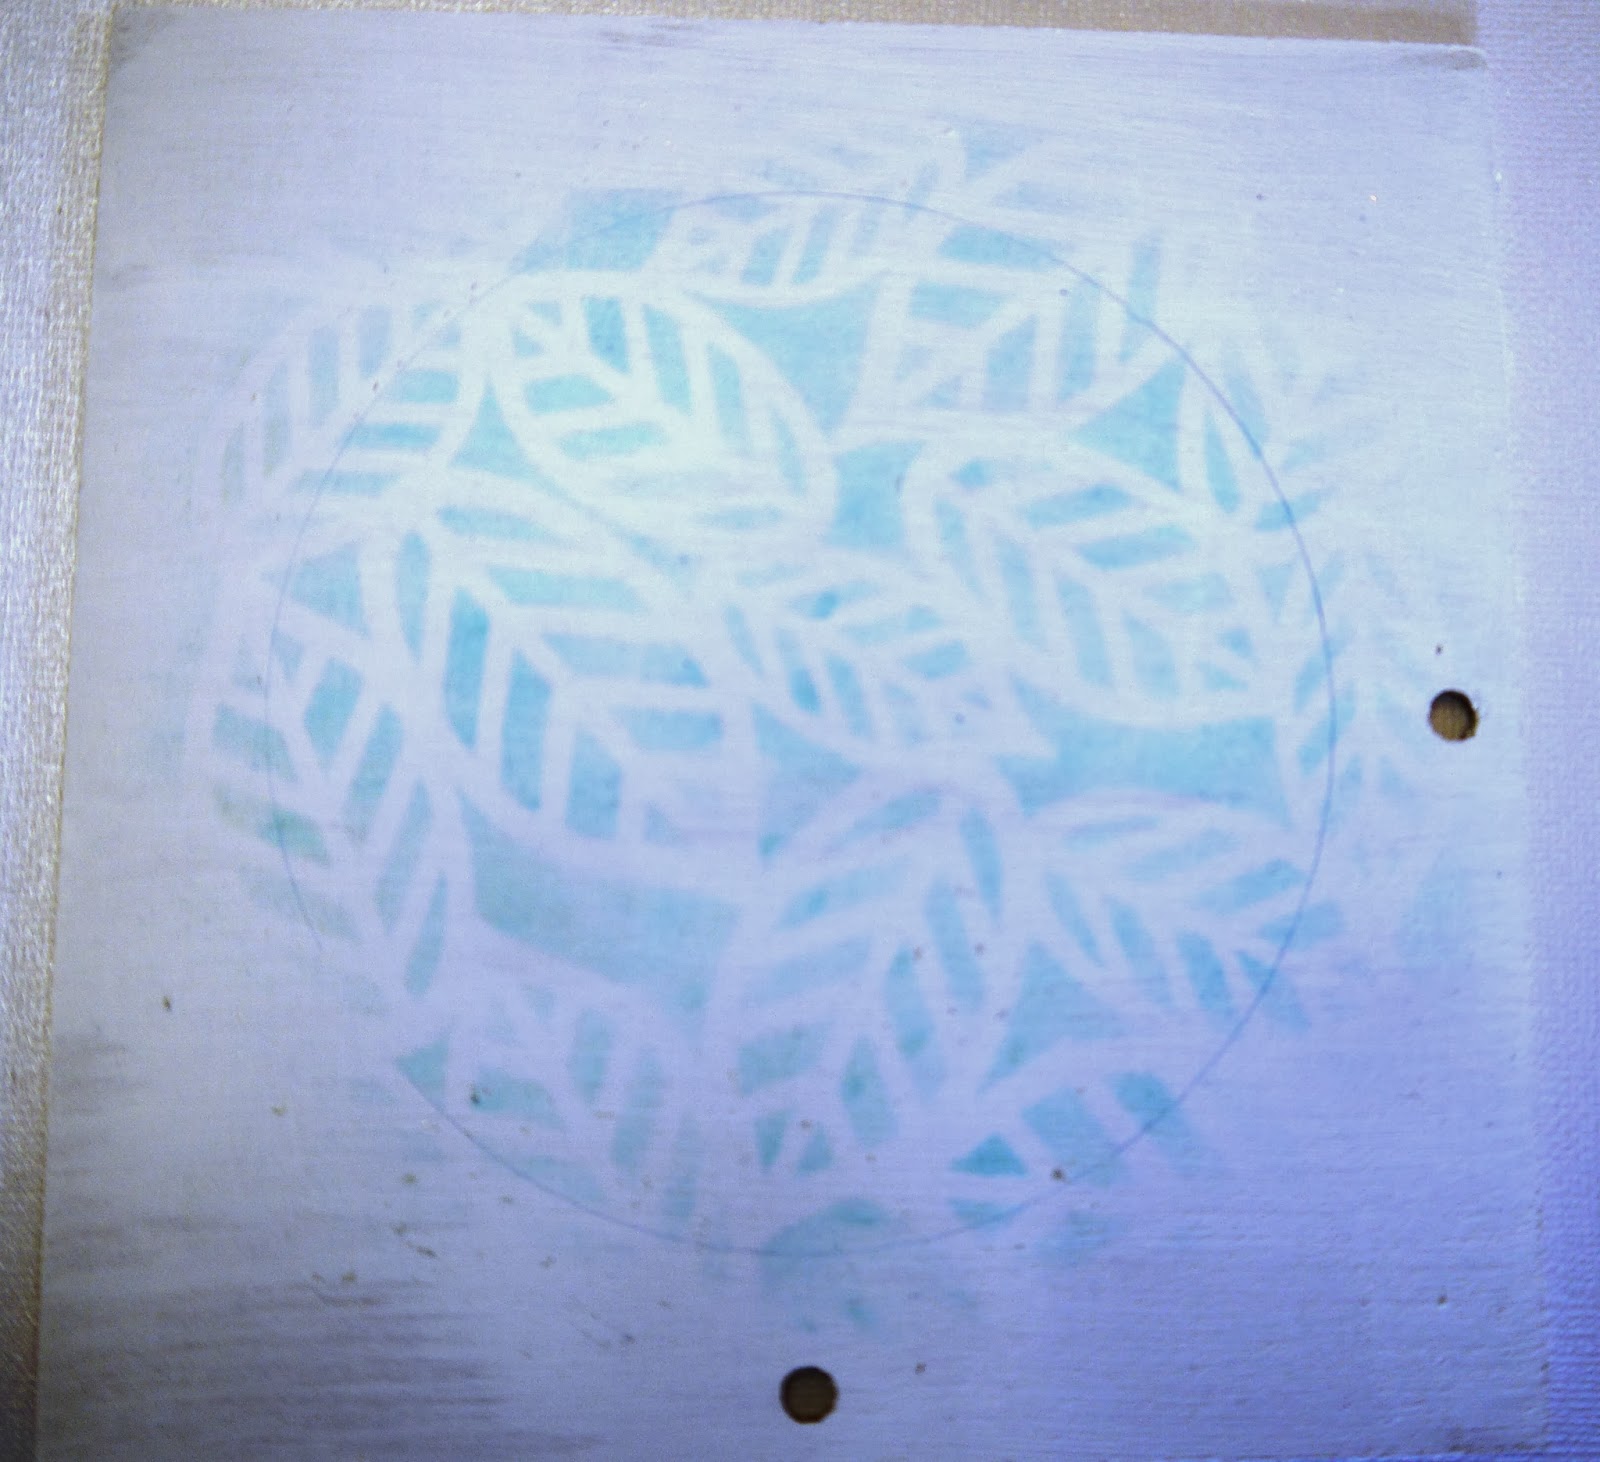
Place the frame over the back board and mark where the aperture will sit. Place the Leaves Mask over the circle and dab through with Tumbled Glass Distress Ink.
Glue the sentiment into place. Glue the frame to the backing board.
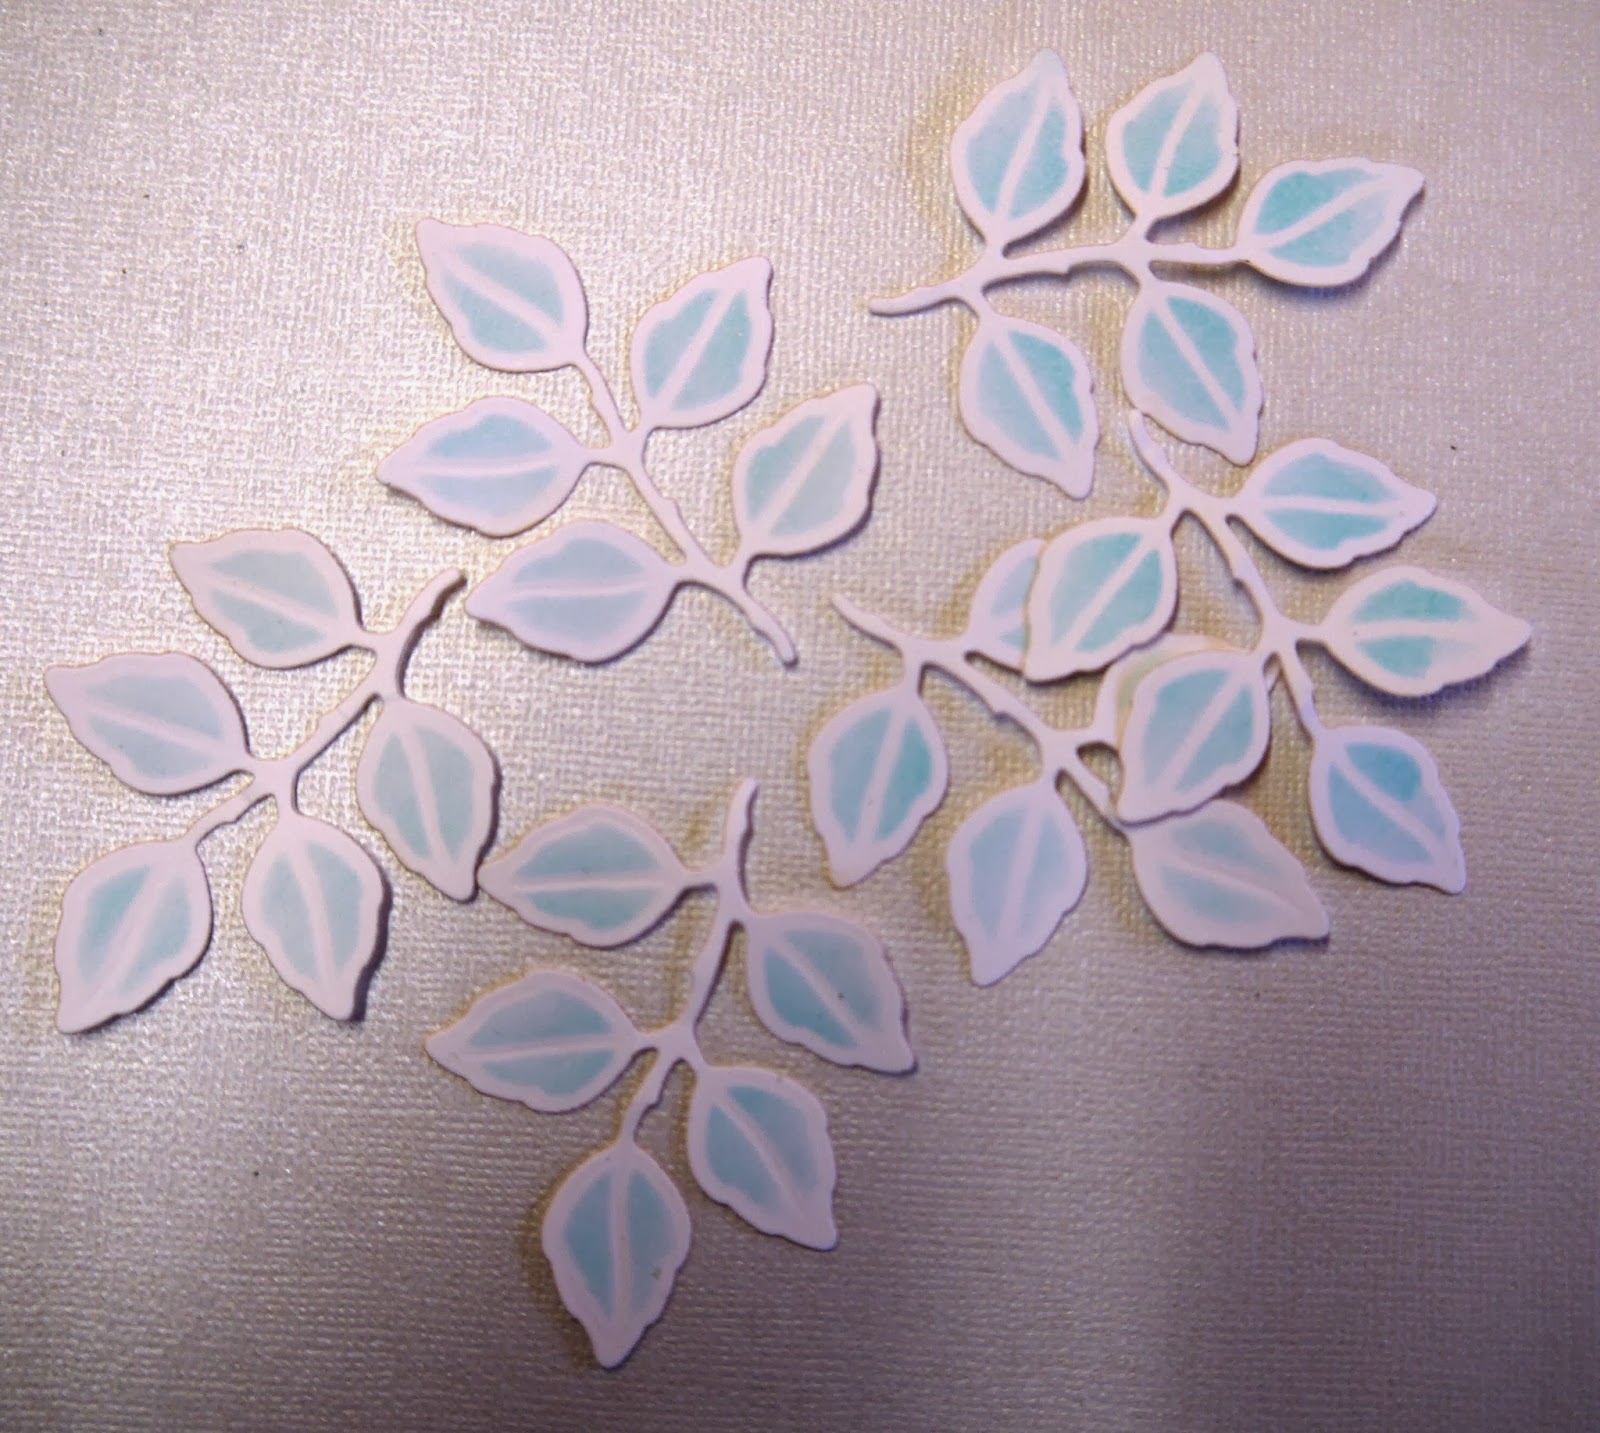
Die cut leaves from the Spellbinder Foliage set and, with the die still in place, ink through with Tumbled Glass Distress Ink.
Stamp the flower from the Studio 490 Accents for Art stamp set onto Coconut White Cardstock with Black Archival Ink.
Cut the flowers out and distress the edges with the Tumbled Glass Ink. Make the flowers 3d (there are a lot of tutorials already on blogs....Sue Wilson has a brilliant one on the Particraft blog).
Using the Melt Pot, melt some Cosmic Shimmer UTEE and dip the flowers.
Arrange the leaves and flowers and glue into place on the frame.
I really enjoyed making this, I love to do altered art and the Pronty MDF shapes from Creative Expressions are brilliant to work with.
Everything I've used today is available from Creative Expressions and you can find your nearest retailer by visiting their website. Hope you like the project!
The winner of the blog candy is Christine B. Please e-mail your address and I'll get it in the post to you.
Many thanks for visiting and leaving comments.
I'll be back tomorrow with a project for Creative Studios so until then, have a happy, craft time and stay dry!!
About Me

- The Taming of the Glue
- Hi, I'm Pam and thank you for visiting my blog. I have been making cards for over 10 years and am an independent demonstrator for Creative Expressions. I am lucky enough to teach on cruise ships and also get the chance to demo at The Big Stamping and Scrapbooking Show at Alexander Palace. I run workshops for a local craft shop and if anyone would like details of the them please e-mail me at stephen.smith870@ntlworld.com I love to scrapbook but my all time favourite thing is to get messy with ink!


2 comments:
Pam this is simply stunning. The colour is lovely and all the stamping. Love , love your flowers. Hugs x ChrisB
Hi this is stunning,and a work of art.
Ita
Post a Comment