About Me

My photo
Hi, I'm Pam and thank you for visiting my blog. I have been making cards for over 10 years and am an independent demonstrator for Creative Expressions. I am lucky enough to teach on cruise ships and also get the chance to demo at The Big Stamping and Scrapbooking Show at Alexander Palace. I run workshops for a local craft shop and if anyone would like details of the them please e-mail me at stephen.smith870@ntlworld.com I love to scrapbook but my all time favourite thing is to get messy with ink!
Showing posts with label self adhesive embellishments. Show all posts

Thursday, 29 October 2015

No Stamping Required!

Good Morning All and a very Happy Thursday!

Well, it's the end of another month so it's the final project of the month and as that's the case, I couldn't help myself and had to showcase the gorgeous Bloom Beautiful papers from Craft Consortium again.

I've titled this post No Stamping Required because that's exactly what this card is about...apart from being a really sweet New Home card.  So let's get started.....

Cut a strip of Foundations Sky Blue card.  Place the inner section of the Striplet-Eternal Rings Die over and cut.  Remove the die, line it up and cut again to extend the length of the design.  Cut to the end of the strip.

Matt and layer a piece of Bloom Beautiful paper onto some Sky Blue card.  Glue onto the A5 blank card then glue the cut strip into position.

On the inside cover of the paper pad are various images that can be cut out.
Cut out 2 birds and the sentiment.  Add to the card with 3d foam pads.

Cut two pieces of Sky Blue card into strips and cut a "V" in the end to make a banner shape.  Ink the edges with Cosmic Shimmer Sky Blue Colour Cloud Blending Inks.
Shape the card and glue into position.  Add self adhesive pearls to the die cut strip to finish.

And there's the finished card!

It's quick, simple and mess free....ideal if you need a card in a hurry and nearly all the elements for it are in the paper pad!

As always, everything used is from Creative Expressions.

I'll be back next week with more Christmas designs so watch this space!

Thank you everyone for visiting and leaving comments...it's nice to know that you visit!

Until next time, have a happy, crafty week!

Thursday, 22 October 2015

Back to the Future!


Good Morning All and a very Happy Thursday!

As yesterday was "Back to the Future" Day, I thought the sentiment on this week's project was apt!

I'll start off with apologies for tempting you with these gorgeous papers.  I'll just say that if you but them, you won't be disappointed!

Anyway, on with the card.....

Start by using one of the outer edges of the Mini Gemini Dies-Vela to cut out a patterned edge square.  Do this by cutting the first edge, lining up the die so that it touches the cut of the first one and cutting again until you have a square.

I hope the picture explains what I mean!

Cut out an aperture using the Noble-Double Pierced Square Dies.

Cut a square of Craft Consortium Bloom Beautiful paper and glue it onto the blank  8x8 card.
Attach the frame over the top with 3d foam pads.

Ink up the sentiment from the "Delightful Sentiments" stamp set with Black Archival Ink.  Stamp into Coconut White card and heat emboss using Cosmic Shimmer Clear Powder.
Cut out with a smaller Noble-Pierced Square Die.
Add to the card with pads.


Die cut flowers from the Finishing Touches-Camellia Complete Petals Die Set.  Glue 4 small ones to the corners of the frame.  Add 3mm self adhesive pearls to the centres.
Die cut more flowers and layer them using 2 different patterned papers.


Glue onto the frame and add 5mm pearls to the centres.
Add pearls to the corners of the sentiment.
Cut up some Mini Pearl Swirl embellishments and attach to the frame to finish.


 And there's the finished card!  I do hope you like it.
What you can't see is the beautiful pearl finish to the paper..it's gorgeous!

Well, that's it for this week.  Many thanks for stopping by and leaving comments...they are all much appreciated.

I'll be back next week with another card....more of those stunning papers....sorry!

As always, everything used is from Creative Expressions.

So until next time, have a happy, crafty week!


Tuesday, 9 September 2014

Merry Christmas!

As it's September I don't feel in the least bit guilty heading this posting "Merry Christmas".  It's definitely time to get started on those Xmas cards (although I must admit, I haven't started mine yet)!

Today, I've used some of the gorgeous new Sue Wilson Dies and also one of the new Pinpoint Embossing Folders.  The biggest surprise to those who know me is that there's NO INK!

Anyway, let's get started......

Die cut the Festive Collection Classic Poinsettias from Ruby Foundations Card.
Die cut the Festive Collection Filigree Poinsettias from Coconut White Card.
Glue the Filigree over the top of the red Poinsettias in the centre of the flowers with Cosmic Shimmer Dries Clear Glue.

Cut a piece of Coconut White card to size and dry emboss with the Pinpoint Checkboard Embossing Folder.
Matt and layer onto Ruby Card.
Attach a length of Red Crushed Ribbon to the top right corner.

Gather the centre of the ribbon and glue it down.  Tie a double bow using the same ribbon and attach with a glue dot.
Add a Small Fancy Pearl Embellishment to the centre of the bow.

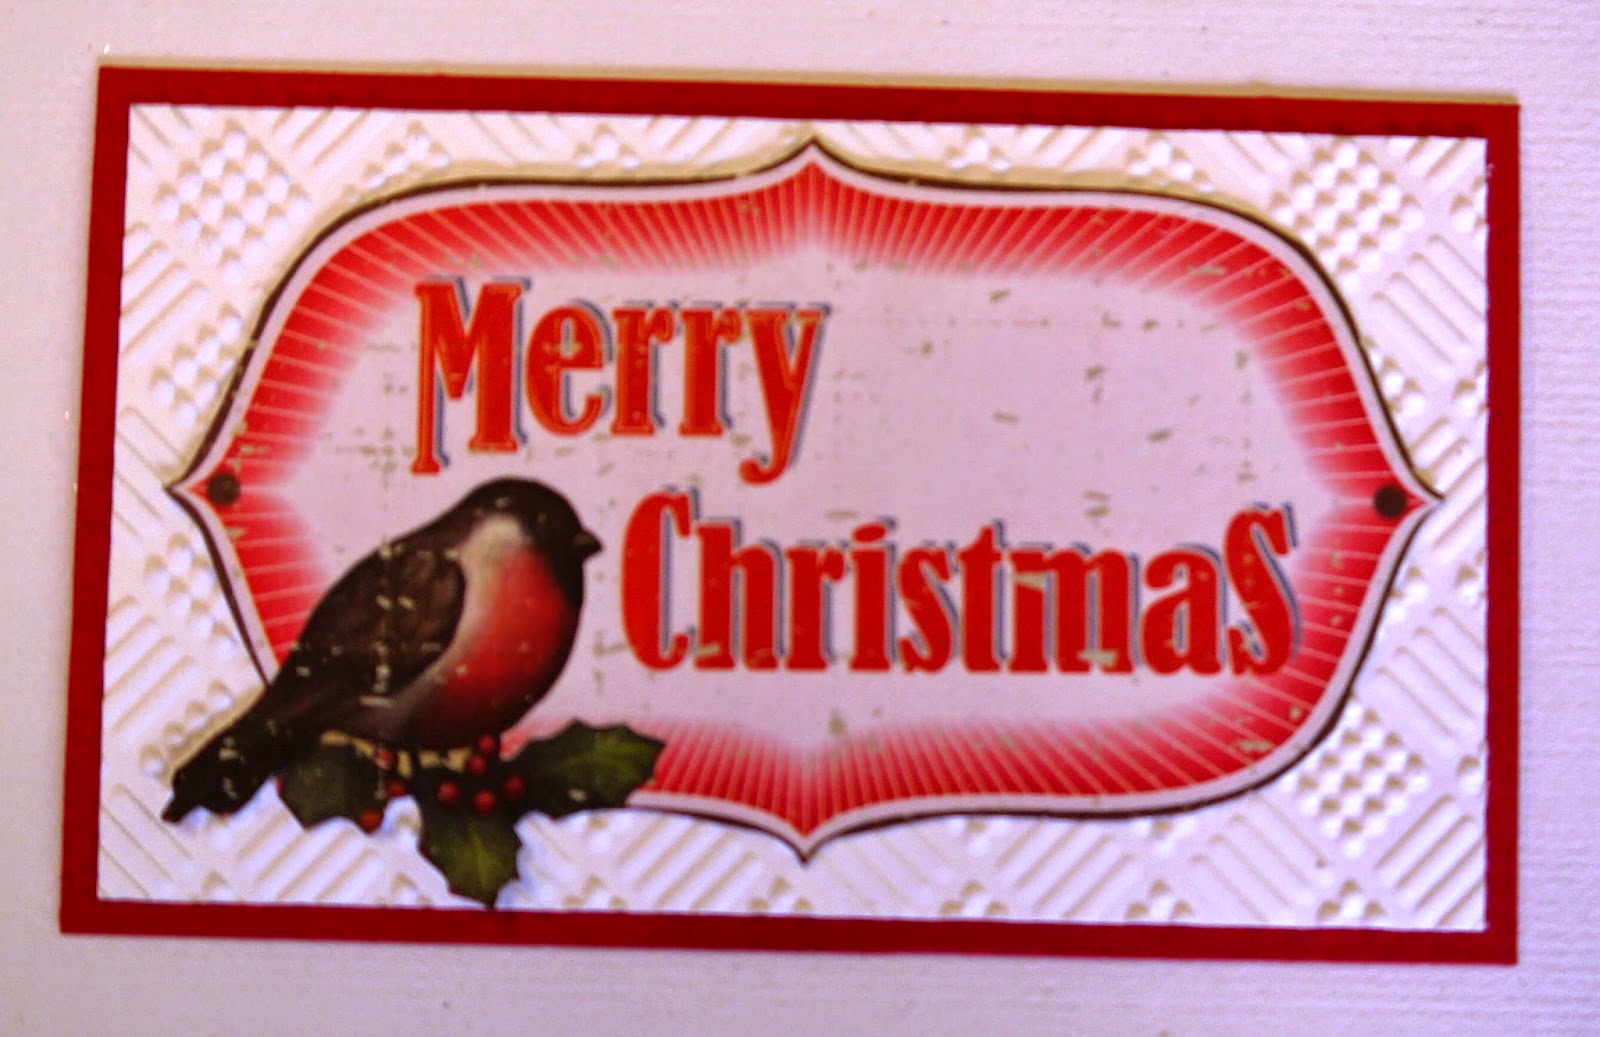
Cut out one of the labels from the Couture Creations Vintage Christmas 12x12 paper pads.
Emboss a smaller piece of Coconut White Card with the same folder as before.  Glue the Robin label to the card.
Matt and layer onto Ruby Card.
 
Attach this to the main card with 3d foam pads.
 
Glue the Poinsettias into position after shaping the petals.
 
Add some 5mm and 8mm Self Adhesive Pearls to the centres of the Poinsettias and also to the Robin Label.
 
Cut the Self Adhesive Snowflake Swirl Embellishment into sections and stick some down onto the card.
 
And there's the finished card!  I hope you like it.
 
Many thanks to everyone who came to the workshop on Saturday....I hope you enjoyed it as much as I did and that you've managed to get all the ink off your hands!
 
I'm very excited as it's the Grand Northern Ukulele Festival this weekend so I'm off to practice now....in between putting some demo's together for Ally Pally the following weekend.
 
Until next time, have a very happy, crafty week and many thanks for visiting.