Good Morning All and a very Happy Thursday!
While you're reading this, I'll be away at a music festival being an ageing hippy! It's a lovely festival near Shaftesbury in Dorset called The Larmer Tree and this year Tom Jones is headlining...i will not be throwing undies at the stage!
Anyway, back to this weeks project for Creative Expressions...
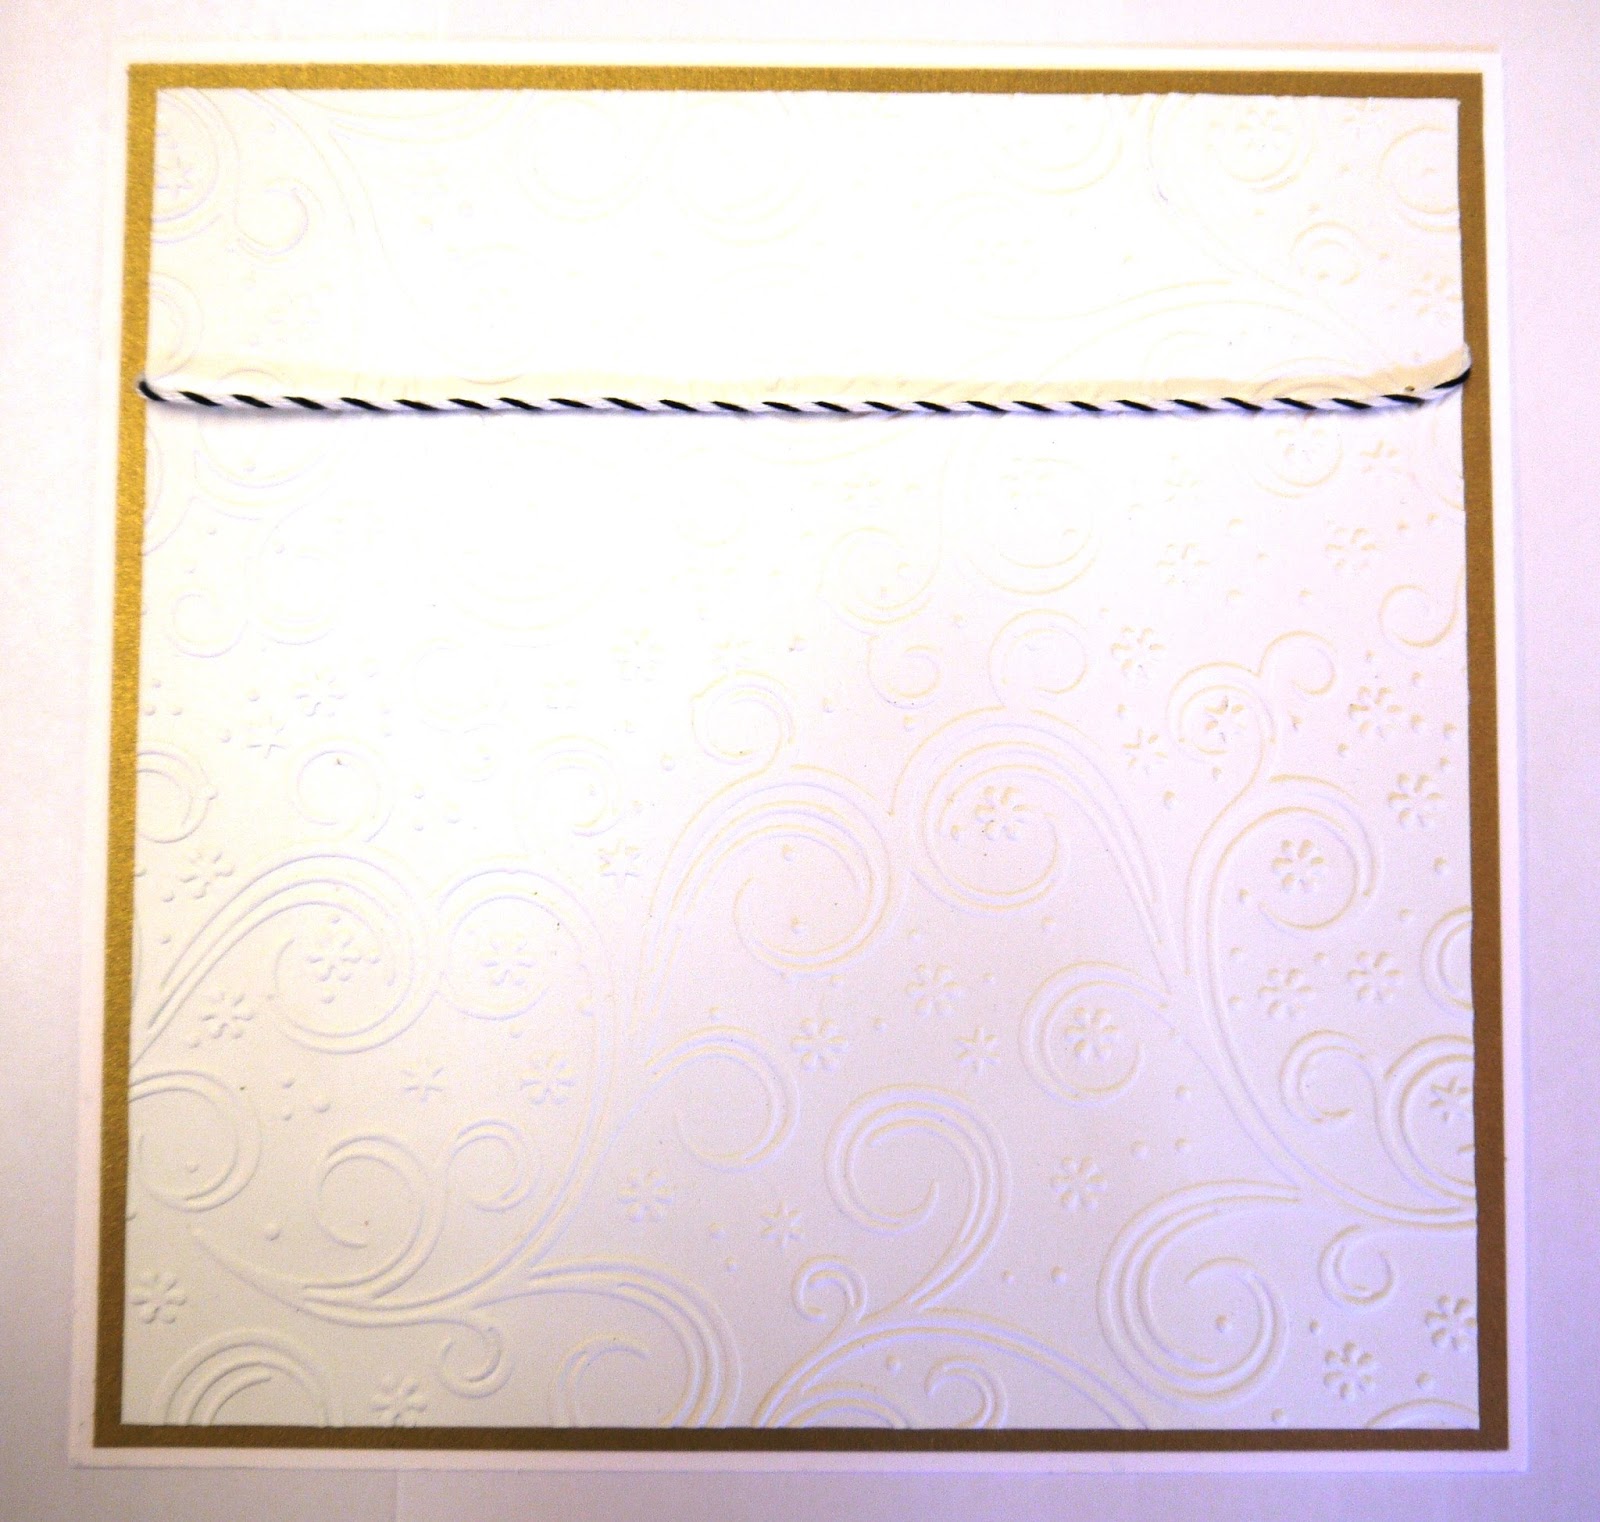
Emboss a piece of Coconut White Card with the A4 Frosty Swirls Folder.
Attach a length of Black/White Bakers Twine before matting and layering onto Foundations Vintage Gold Card.
Die cut 3 Festive Collection-Sentimental Baubles from the Gold card. Emboss them using the same folder. Highlight the raised areas with Cosmic Shimmer Decadent Wine Gilding Wax.
Glue the 2 outer baubles into position and add the 3rd with 3d foam pads.
Cut a strip of the Vintage Gold Card. Cut a thinner strip of White card and emboss with the same folder. Matt and layer.
Using the same die set, cut out the word "Joy"
Glue the strip onto the card and add the word with 3d pads.
Tie 3 bows from Gold Tulle and glue above the baubles.
Add Dazzlers to finish.
And here's the finished card!
It's another quick one to make....always important at Christmas when quite often, we have a lot to make!
Well, that's it for this week. Many thanks for stopping by and leaving comments...always appreciated.
I'll be back next Thursday with another Christmas project so until then, have a happy, crafty week.
As promised, I've drawn a name for the winner of the wall hanging and it's.......................................................
........................................................
............................................
...........................
Jackie Trinder!
Congratulations Jackie, please can you e-mail your address to me and I'll get it sent off to you.
It won't be for 2 weeks I'm afraid as we're off to a festival early tomorrow before the post office opens. But I promise, as soon as we get back, it's my first job!
Don't forget to comment on the Xmas cards with your favourite at the end of the month and I'll send that card to the winner of the nest draw.
Many thanks for taking part......I'll be back on Thursday with a new project!
Good Morning All and a very Happy Thursday!
Still nice and warm for making Christmas Cards but I really enjoyed making this weeks project for Creative Expressions. When the Classic Poinsettia Dies first came out, I fell in love with them so it was a great excuse to get them back out and have a play!
Anyway, let's get on with the card.............
Emboss a square of Foundations Ruby Card with the A4 Frosty Swirls Folder.
Matt and layer onto Coconut white and Ruby before adding to the blank card.
Did cut both parts of the Italian Collection-Calabria from Coconut White Card.
Attach the outer ring to the card with 3d pads and glue the inner one into position.
Ink up the Elegant Poinsettias stamp with Perfect Medium and stamp onto Ruby Card. Heat emboss with Cosmic Shimmer True White. Cut out with the Festive Collection Classic Poinsettias Dies.
Shape the petals and glue together. Glue onto the outer circle.
Cut out some Festive Collection-Filigree Poinsettia flowers from Coconut White Card.
Die cut the Trailing Ivy from the same white card.
Glue into position on the card.
Ink up the sentiment (from the A5 Seasonal Snow set) using Black Archival Ink and stamp onto Coconut White Card. Heat emboss with Cosmic Shimmer Clear Powder.
Die cut with the Small Standard Circles. Cut a matt from the Ruby Card with the same dies. Attach to the card with 3d pads.
Just add some 8mm black pearls to the flower centres and you're finished!
Hope you like it!
Well, that's it for this week...I'll be back next Thursday with another Christmas project. I will pop on here Sunday to announce the winner of the wall hanging.
Many thanks for visiting and leaving comments. Would you like more giveaways of the samples I make, just let me know in the comments?
Until next time, have a happy, crafty week!
Good Morning All and a very Happy Thursday!
Well, I've been tasked by Creative Expressions to make Christmas cards! On the hottest day of the year (so far) I've been thinking snow, carols, trees.....
Anyway, this is the first one of the month for you.
Die Cut the Illuminated Christmas Tree from Foundations Vintage Gold Card.
Emboss a piece of Coconut White Card with the A4 Snowflake Lattice Folder.
Die cut the Finishing Touches Classic 3d Bow using the Vintage Gold Card.
Glue the strip from that set onto the embossed card and trim to size.
Matt and layer onto Vintage Gold card
Glue the tree into position.
Die cut the Finishing Touches 3d Filigree Bow from Coconut White Card. Glue onto the Gold Bow. Fold onto a 3d shape then glue onto the gold strip.
Add a small black Dazzler to the centre of the bow.
Ink up the sentiment from the A5 Filigree Christmas Set with Black Archival and stamp onto Coconut White Card. Heat emboss with Cosmic Shimmer Clear Powder.
Cut into a banner shape. Matt and layer onto Gold Card.
Shape and glue into position.
Add a small Black Dazzler to the tree to finish.
And there's the finished card!
I wanted to make a card that was quick but elegant and would be suitable for a man or woman to receive.
Although the tree is very detailed, it cut beautifully but I would use wax paper to help lift it from the die.
I've used Cosmic Shimmer Dries Clear Glue to stick everything down. Again, the filigree work on the bow and the tree is very detailed and there isn't a lot of room for the glue, but a few drops of this glue works beautifully.
Well, that's about is for this week....I'm going to stand under a cold shower and cool off!
Don't forget to leave a comment if you'd like to be entered for a chance to win the wall hanging. Many thanks for visiting, it is much appreciated.
Until next time, have a happy, crafty week!
Good Morning All and a very Happy Thursday!
Well, here I am again, home safe and well after a fantastic festival and excited to show you another project made using the fab Floribunda Stamp. So, let's get started!
Using one of the dies from the Portuguese Collection-Lisbon set, cut 3 evenly spaced shapes from a piece of Foundations Sky Blue Card.
Glue onto the blank card.
Dry emboss a piece of Coconut White card with the A4 Leafy Montage Folder. Attach a length of pale blue ribbon before gluing onto the blue card.
Ink up the Floribunda stamp with Perfect Medium and stamp onto a piece of the Sky Blue card. Heat emboss with Cosmic Shimmer True White Powder.
Stamp "Thinking of You" from the Butterfly Dreams Stamp set on the same piece of card. and heat emboss as before.
Cut out with the Lisbon Dies.
Attach to the card with 3d pads.
Tie a triple bow with some of the pale blue ribbon and attach with a glue dot.
Stamp a small butterfly from the Butterfly Dreams set into the gaps using Black Archival Ink. Paint with Tumbled Glass Distress Ink.
Die cut 3 butterflies using the Spellbinders Papillon 2 set from the Sky Blue Card. Shape the wings and glue into place. Add 3mm pearls to the butterflies bodies.
And to finish, just make up a small Foldover Flower using the Finishing Touches Die and some White Felt. Glue into position and you're done!
I hope that all made sense!
Don't forget, if you'd like to go into a draw for the wall hanging I made last week, just leave a comment on here. I'll draw a name on July 12th.
As always, everything used on this card is from Creative Expressions. Next Thursday I'll be showing you a Christmas make! I know, it's months away....surprising how quickly it comes around when you've got a lot of cards to make though!
Anyway, that's it for today. Many thanks for stopping by and leaving comments. Until next time, have a happy, crafty week!
Good Morning All and a very Happy Thursday!
When you read this, I shall be on my way to Cheltenham for a Ukulele Festival...yes, they really have festivals! A whole weekend of playing, learning and listening to some of the best players in the world....bliss!
Anyway, enough of that! Let's get on with the important stuff like this weeks project! As always, everything used is from Creative Expressions.
Paint a Creative Expressions MDF Bunting Shape with Cosmic Shimmer White Gesso then dry thoroughly. Using Gesso acts as a sealant and stops the paint and glue from soaking into the MDF.
Tear an eighth of a sheet of Marine World and Climbing Rose Decoupage Papers into small pieces.
Glue the pieces of paper onto the bunting with Cosmic Shimmer Glossy Glue, Seal and Glaze making sure to paint a layer of glue over the top as well as under the paper.
When all of the paper is in place, coat with one more layer then dry.
Use a Couture Creations Sanding Block at a 45 degree angle to remove the excess paper from around the edges. Removing it this way, rather than with scissors or a knife helps to ensure a good seal around the edges.
Push the handle of a paintbrush through the holes in the Bunting Shape.
Die cut shapes from the Portugal Collection Lisbon Dies.
Stamp the sentiment from the A5 British Wild Flowers Stamp Set onto the smaller shape with Black Archival Ink. Heat emboss with Cosmic Shimmer Clear.
Edge with Peeled Paint Distress Ink.
Matt and layer with 3d pads then glue onto the banner.
Use the Finishing Touches Classic Foldover Flowers Dies to cut strips from pink and white felt. Fold in half and glue together. Roll into a flower and glue to hold onto position.
I hope the picture explains what I mean!
While the glue is drying, paint around the edge of the banner with Cosmic Shimmer Matt Chalk Midnight Paint. Dry. Use Cosmic Shimmer Vintage Golden Green Gilding Wax on the edges of the paper.
Die cur the Trailing Ivy from Coconut White Card, gently apply the same Gilding Wax. I've also added some to the flowers to tone the colour down.
Shape the ivy and use 3d pads to glue it into position. Add the felt flowers with Cosmic Shimmer Dries Clear Glue.
Add some Black Seam Binding to hang it and there you have it!
It sounds from this description that it takes a long time to make, but it really doesn't! I know from reading your comments that you like a full description of how I've made something and I do try to make it as clear as possible without rambling!
I thought, as a thank you for reading this blog every week, I'd like to give this away (assuming anyone wants it)!
I need it until July 11th to show at a workshop, so on Sunday 12th, I'll have a random draw from all the names in the comments. if you leave a comment every week from now, your name goes in 4 times.
Hope that makes sense!
Anyway, better get on. That just leaves me to say an enormous thank you for stopping by and commenting.
Until next time, have a happy, crafty week!
Good Morning All and a very Happy Thursday!
Back again using the Portuguese Collection-Lisbon Dies for this card.
I thought I'd try and do something a little different this week so let's get started!
Using the patterned die from the set, cut 3 times in a row on a piece of Foundations Rich Plum Card.
Emboss a piece of Foundations Lilac card using the A4 Sea Garden Folder.
Highlight the raised areas with Cosmic Shimmer Vintage Plum Gilding Wax.
Matt and layer onto a piece of the Rich Plum Card. Attach onto the blank C5 card.
Glue the cutout panel into position.
Die cut 2 more shapes from the Lisbon Collection. The frame from Rich Plum using a frame and inner shape and the other from the lilac card.
Stamp the sentiment from the A5 Dandelion Wishes set with Black Archival Ink onto the lilac card. Heat emboss with Cosmic Shimmer Clear Powder.
Stamp around the edges with a small stamp from the Cherry Blossoms Elements Stamp Set by John Lockwood.
Matt and layer using 3d foam pads.
Attach to the card with 3d pads.
Tie a double bow using Creative Expressions Satin Crush Ribbon.
Attach to the card with dry glue dots.
Add a large Lilac Dazzler to the centre to finish.
and there's the finished card. Very different to last weeks but still using the same die set.
Well, I'd better get off here now....packs to prep for the full day workshops at Martells!
Many thanks for stopping by and leaving comments, they do mean a lot to me.
Until next Thursday, have a happy, crafty week!