Good Morning All and a very Happy Thursday!
While you're reading this, I'll be away at a music festival being an ageing hippy! It's a lovely festival near Shaftesbury in Dorset called The Larmer Tree and this year Tom Jones is headlining...i will not be throwing undies at the stage!
Anyway, back to this weeks project for Creative Expressions...
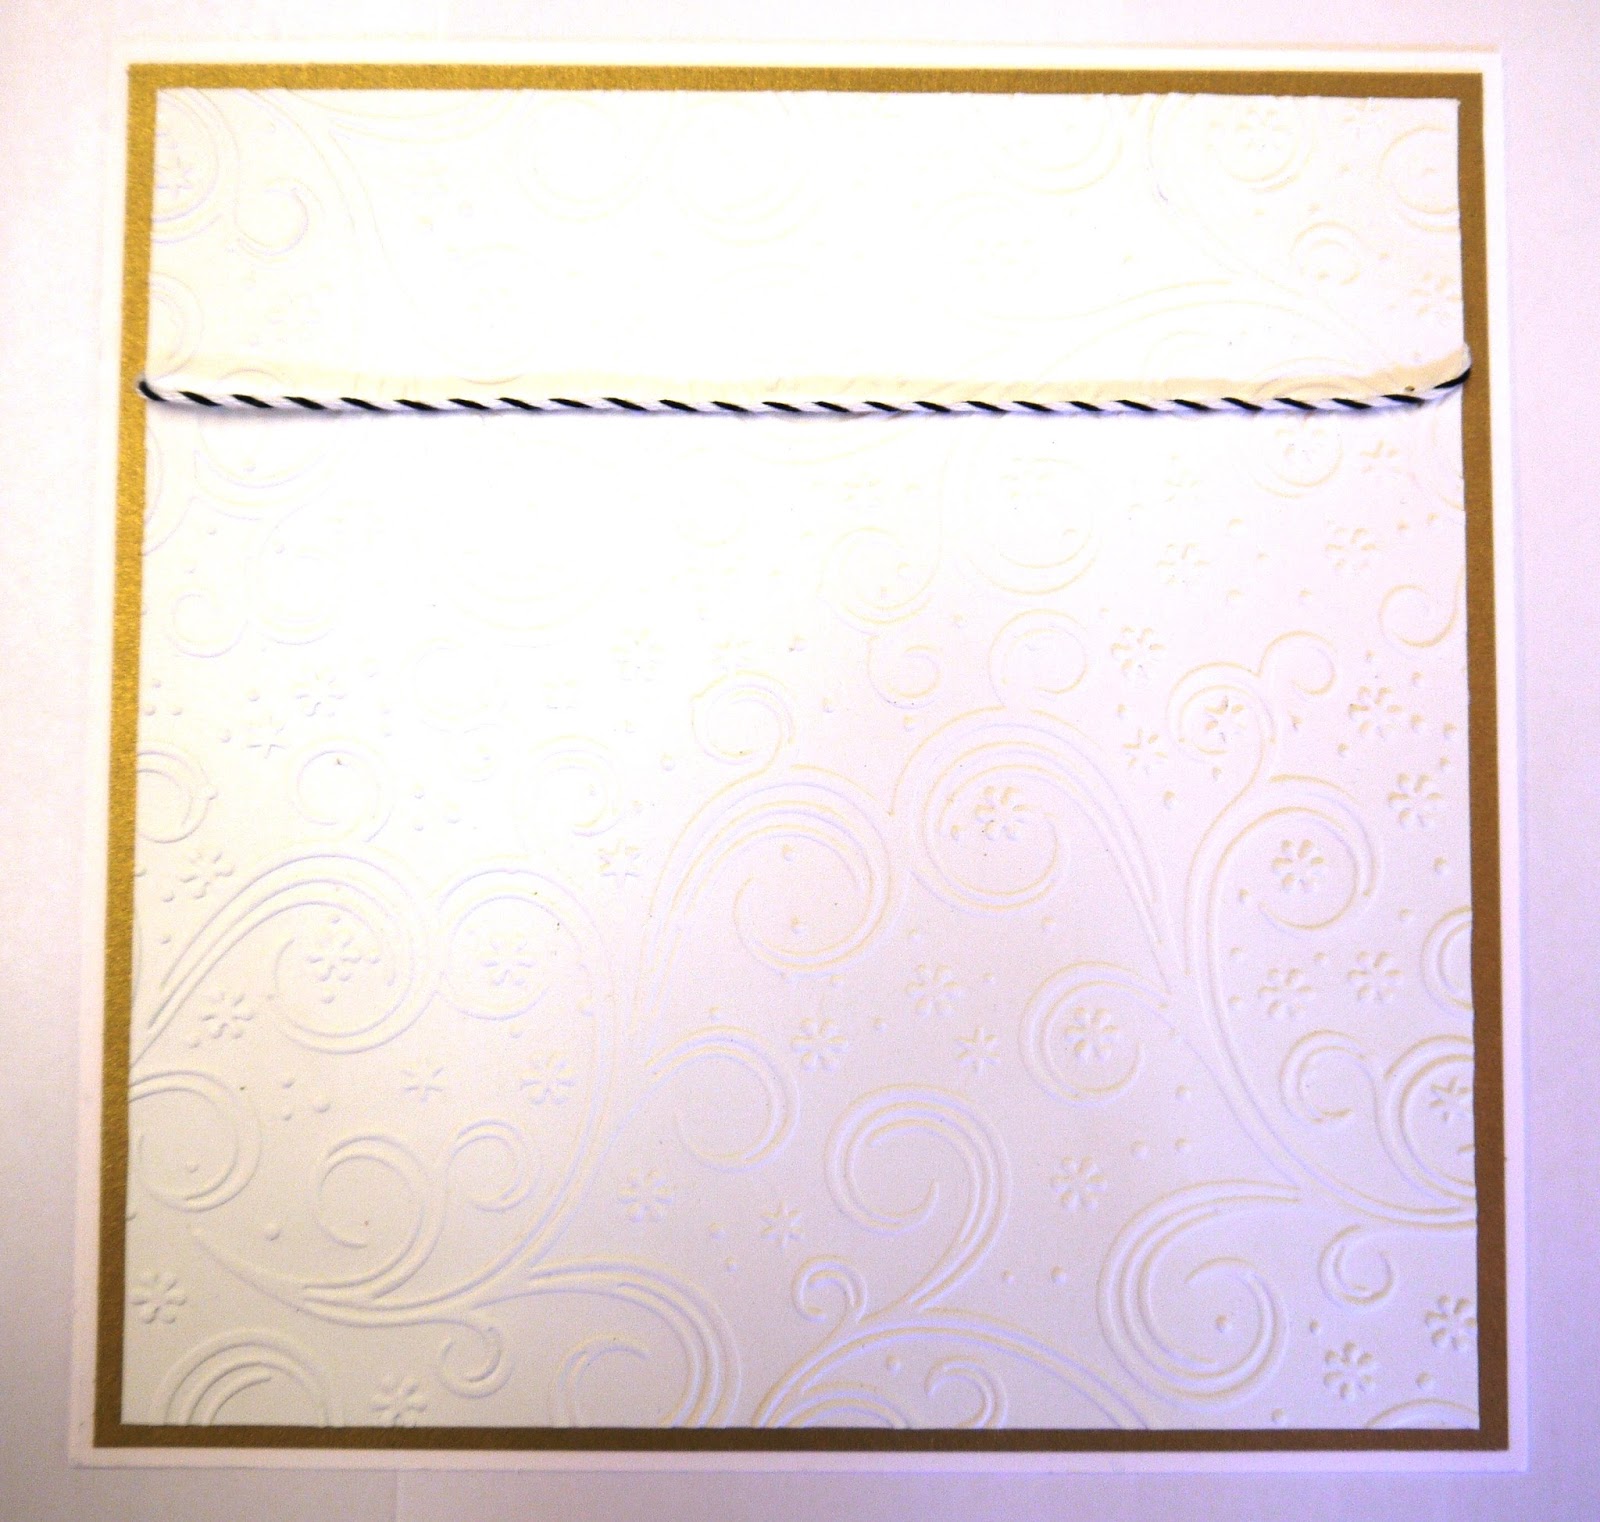
Emboss a piece of Coconut White Card with the A4 Frosty Swirls Folder.
Attach a length of Black/White Bakers Twine before matting and layering onto Foundations Vintage Gold Card.
Die cut 3 Festive Collection-Sentimental Baubles from the Gold card. Emboss them using the same folder. Highlight the raised areas with Cosmic Shimmer Decadent Wine Gilding Wax.
Glue the 2 outer baubles into position and add the 3rd with 3d foam pads.
Cut a strip of the Vintage Gold Card. Cut a thinner strip of White card and emboss with the same folder. Matt and layer.
Using the same die set, cut out the word "Joy"
Glue the strip onto the card and add the word with 3d pads.
Tie 3 bows from Gold Tulle and glue above the baubles.
Add Dazzlers to finish.
And here's the finished card!
It's another quick one to make....always important at Christmas when quite often, we have a lot to make!
Well, that's it for this week. Many thanks for stopping by and leaving comments...always appreciated.
I'll be back next Thursday with another Christmas project so until then, have a happy, crafty week.
Good Morning All and a very Happy Thursday!
When you read this, I shall be on my way to Cheltenham for a Ukulele Festival...yes, they really have festivals! A whole weekend of playing, learning and listening to some of the best players in the world....bliss!
Anyway, enough of that! Let's get on with the important stuff like this weeks project! As always, everything used is from Creative Expressions.
Paint a Creative Expressions MDF Bunting Shape with Cosmic Shimmer White Gesso then dry thoroughly. Using Gesso acts as a sealant and stops the paint and glue from soaking into the MDF.
Tear an eighth of a sheet of Marine World and Climbing Rose Decoupage Papers into small pieces.
Glue the pieces of paper onto the bunting with Cosmic Shimmer Glossy Glue, Seal and Glaze making sure to paint a layer of glue over the top as well as under the paper.
When all of the paper is in place, coat with one more layer then dry.
Use a Couture Creations Sanding Block at a 45 degree angle to remove the excess paper from around the edges. Removing it this way, rather than with scissors or a knife helps to ensure a good seal around the edges.
Push the handle of a paintbrush through the holes in the Bunting Shape.
Die cut shapes from the Portugal Collection Lisbon Dies.
Stamp the sentiment from the A5 British Wild Flowers Stamp Set onto the smaller shape with Black Archival Ink. Heat emboss with Cosmic Shimmer Clear.
Edge with Peeled Paint Distress Ink.
Matt and layer with 3d pads then glue onto the banner.
Use the Finishing Touches Classic Foldover Flowers Dies to cut strips from pink and white felt. Fold in half and glue together. Roll into a flower and glue to hold onto position.
I hope the picture explains what I mean!
While the glue is drying, paint around the edge of the banner with Cosmic Shimmer Matt Chalk Midnight Paint. Dry. Use Cosmic Shimmer Vintage Golden Green Gilding Wax on the edges of the paper.
Die cur the Trailing Ivy from Coconut White Card, gently apply the same Gilding Wax. I've also added some to the flowers to tone the colour down.
Shape the ivy and use 3d pads to glue it into position. Add the felt flowers with Cosmic Shimmer Dries Clear Glue.
Add some Black Seam Binding to hang it and there you have it!
It sounds from this description that it takes a long time to make, but it really doesn't! I know from reading your comments that you like a full description of how I've made something and I do try to make it as clear as possible without rambling!
I thought, as a thank you for reading this blog every week, I'd like to give this away (assuming anyone wants it)!
I need it until July 11th to show at a workshop, so on Sunday 12th, I'll have a random draw from all the names in the comments. if you leave a comment every week from now, your name goes in 4 times.
Hope that makes sense!
Anyway, better get on. That just leaves me to say an enormous thank you for stopping by and commenting.
Until next time, have a happy, crafty week!
Good Morning All and a very Happy Tuesday!
Well, we're back from our adventures on the high seas and trying to get back to normal...whatever that is! I'm just happy to have all the unpacking and washing done!!
This week I'm using the Decadent Damask Birthday Verses Stamps designed by Phill Martin for Creative Expressions. There are 4 large message stamps in the set, all with lovely birthday messages.
Anyway, let's get on with making a card!
Stamp the message with Black Archival Ink onto Coconut White Card. Heat emboss with Cosmic Shimmer Clear Powder.
Tear around the edges, then add Cosmic Shimmer Vintage Plum Gilding Wax to the torn areas.
Cut a square of paper from the Vintage Rose Garden 12x12 paper pad. Tear around the edges and apply the Gilding Wax as before.
Stamp a row of the border from the stamp set with Black Archival Ink.
Glue onto the card blank.
Ink up the Skeleton Leaves Striplet Stamp with Black Archival and stamp onto a piece of vellum. Heat emboss with the clear powder.
Add circles of Gilding Wax to the reverse side of the stamped image. I've used Vintage Plum, Golden Lilac and Summer Blue. Trim to size.
The first photo shows it from the reverse side and the 2nd one is what it looks like when you turn it over.
Glue onto the card with Cosmic Shimmer Dries Clear Glue.
Add the message with 3d foam pads.
Colour a 2nd piece of vellum with the same colour waxes.
Cut out flower shapes with the Finishing Touches Classic Rose Dies.
Use a brad to hold the flowers together then scrumple the flowers to give a bit of texture.
Die cut the Faux Quilled Leaves from Coconut White Card and glue into place. Add the flowers with 3d foam pads.
And there's the finished card!
I wasn't sure if the waxes would work on Vellum but they look gorgeous.
As always, everything I've used is from Creative Expressions.
That just leaves me to say a big thank you for stopping by and leaving comments, they're much appreciated.
So until next time, have a happy, crafty week!
Good Morning All and a very Happy Tuesday!
I've made a wall hanging for today's DT piece with a sentiment that I agree with totally! I'm planning on hanging it in my kitchen where I shall do my best to follow the advice!
Anyway, let's get started....
Paint a small wooden plaque with Cosmic Shimmer Midnight Matt Chalk Paint.
Ink up the "Life is Short" Singles stamp with Perfect Medium. Stamp onto the plaque and heat emboss with Cosmic Shimmer Bright Gold Metallic Powder.
Apply Perfect Medium Ink around the edges using a piece of Cut 'n Dry Foam. Heat emboss with the same powder as before.
Ink up the Cake and Spoon stamps from the A5 Vintage Cooking set with Perfect Medium and stamp several times onto Black Foundations Card. Heat emboss with the Bright Gold Powder and cut out.
Attach to the wall hanging with 3d foam pads.
Add some Golden Light Metallic Gilding Wax to the outer edge of the plaque.
Ink up the sentiment from the A5 Vintage Cooking Set with Perfect Medium and stamp onto Black Foundations Card.
Cut to size and glue onto a piece of Grungeboard.
Apply Perfect Medium Ink around the edges as before and heat emboss with Bright Gold Powder.
Attach to the plaque with Black Seam Binding.
Make a loop of Black Seam Binding and attach to the top of the plaque with Cosmic Shimmer Dries Clear Glue as a hanger.
And that's the finished project! Hope you like it.
I'm going to be having a couple of weeks off blogging over Christmas but I'll be back in the New Year with new stamps and ideas. Please pop back on January 6th to see what I've made!
In the meantime, have a Very Happy Christmas and a fab New Year. see you all soon..................
Good Morning All, back again with another project for Creative Expressions to share with you. The "Golden Wonder" doesn't refer to crisps, but rather to the fact that I got carried away with the Cosmic Shimmer Bright Gold Embossing Powder!
Anyway, here's the step by step.
Ink up the Ivy Corner Singles Stamp with Perfect Medium and stamp onto Foundations Mocha Cardstock in 2 corners. Heat emboss with Bright Gold Powder.
Use a pair of scissors to distress the edges.
Dry emboss with the A4 Sea Garden Embossing Folder.
Go over raised areas and the edges with Vintage Golden Green Gilding Wax.
Cut a piece of Dark Roast Coffee Foundations Card to size, distress with scissors then matt and layer. Glue onto a card blank made with Foundations Milk Card.
Cut 2 Spellbinder Scalloped Circles Large, 1 from Milk card and the other from the Dark Roast Coffee.
Cut a Spellbinder Standard Circle Small from the Mocha Card.
Ink up the Botanical Spray Singles Stamp with Perfect Medium and stamp over the Standard Circle. Heat emboss with Bright Gold Powder.
Rub some of the Gilding Wax around the edges of the Scalloped Circles them matt and layer.
Stamp a sheet of Milk Card with the Botanical Spray and heat emboss as before.
Cut flowers out using Spellbinder Spiral Blossom 3 and make up into 3d flowers. Add Gilding Wax to the tips of the flowers.
Die cut leaves from the Foliage Spellbinders set from the same piece of card. With the die still in place, add some Gilding Wax.
Arrange onto the card and glue into place.
And there's the finished project!
It's really rich and textured and would make a great Golden Wedding Anniversary Card. I hope you like it.
I had a great time at Ally Pally and hope you enjoyed all my demo's....I seem to have become a fixture in the demo area!
Many thanks to everyone who came to the workshop on April 5th, a good time was had by all! Looking forward to seeing the next class later this month. The workshop has now sold out but I have classes planned for June. The shop has the details of the dates and what we'll be doing so please give them a ring if you're interested.
Well, that's all for today, back again tomorrow with a project for Creative Studios. Many thanks for visiting and leaving comments.
Tuesday again and I'm back with a "wall art" project for my Creative Expressions Design Team Project.
Start by painting one of the Studio 490 Art Part Circles and frame with White Eco Green Acrylic Paint.
Cover the circular frame with Cosmic Shimmer Clear Texture Paste. Apply it unevenly leaving a very bumpy surface. Leave to dry.
When thoroughly dry, cover with Broken China Distress Paint.
Stamp 3 of the Antique Dress Forms onto the white circle with Perfect Medium and heat emboss with Cosmic Shimmer Bright Gold Metallic Powder.
Attach a piece of white Seam Binding to the circle with Cosmic Shimmer Dries Clear Glue to use as a hanger.
Stamp the 6 petal flower from the Button Floral Stamp Set onto some patterned paper (mine was Tim Holtz) using Perfect Medium and heat emboss with the Gold powder as before. Stamp 15 of them to make up 5 of the 3d roses.
Stamp the leaves from the Studio 490 "Love to make Art" set onto Coconut White card using Perfect Medium Ink. Heat emboss with the same Gold Powder and cut out.
Apply Cosmic Shimmer Gilding Wax Metallic Enchanted Gold to the frame. Glue the frame into place with Dries Clear Glue.
Glue the leaves and flowers onto the frame.
And that's the wall hanging complete!
Well, that's it for today. I'll be back next Tuesday with another Creative Expressions project. Hope you like this one and many thanks for visiting. Have a great week!
Good Morning All!
Do you ever go through your craft stash and realise that you've got a product that was loved then pushed to one side? I recently tidied up (a miracle I know!) and found my fusible fibres. Well, I couldn't let an opportunity to use them again go by so, here they are in this weeks Creative Expressions Design Team piece.
Ink up the Christmas Rose from the Winter Flower Stamp Set with Black Archival Ink.
Place some Cosmic Shimmer Heat Bondable Angel Fibres in Enchanted Metallics over the top of the stamp.
Cover over with a piece of vellum (or baking parchment) and press down with an iron. Don't be tempted to move the iron around too much, just lift it and press down again. When the fibres have fused you'll be able to see the ink outline of the stamp.
Cut out the flower head.
Stamp the Christmas Rose again onto Coconut White cardstock with Black Archival Ink and heat emboss with Cosmic Shimmer Clear Powder. Paint the leaves and stem with Cosmic Shimmer Watercolours in Holly Leaf and Autumn Twist.
Die cut the Flower using Spellbinders Labels 28. Glue the Bondable Film Flower into place with Cosmic Shimmer Dries Clear Glue.
Die cut a matt.
Using the Creative Expressions A4 Tapestry Folder, emboss a piece of Coconut White Cardstock. Apply Patina Gilding Wax around the edges.
Matt and layer then glue the Flower element into place.
Tie a knot into a piece of tulle to make a "faux bow" then tie a double bow using the crushed satin ribbon.
Glue onto the card and add a Silver Dazzler to the centre of the bow to finish.
So get searching out all of your hidden treasures! You'll be surprised what you find!
Many thanks for your visit and comments and until next time...keep crafting!
Time to get started on those Christmas cards! Today I thought I show a card I made using a fantastic technique that the wonderful Sue Wilson was demonstrating at Ally Pally last month. I just hope that my lousy photography does it justice!
To start, cut a piece of Coconut White cardstock to size and cover with Creative Expressions Double Sided Adhesive Sheet. Coat the Holly Wreath Mask with Perfect Medium Ink and place down on the double sided adhesive. Apply Cosmic Shimmer Summer Meadow Gilding Flakes through the mask making sure that you get rid of any excess before removing the mask. Remove mask and apply Creative Expressions Micro Beads.
Dry emboss another piece of the Coconut White card using the Basket Weave Creative Expressions A4 Folder. Cut another piece of the card slightly larger and lay down double sided tape all the way around the edges. Apply the Golding Flakes to the tape.
Lightly apply some Golden Light Gilding Wax over the embossed piece of card.
Stamp the sentiment with Perfect Medium and heat emboss with Cosmic Shimmer Bright Gold Powder. Die cut using Spellbinders Fleur de Lis Motifs. Die cut a 2nd Motif after applying a piece of the double sided sheet to a piece of card. Remove the backing and apply the Gilding Flakes to it.
Stick onto the card with 3d foam pads after gluing the sentiment over the gold motif. To finish, add a bow and a Red Dazzler.
I hope you like it and a big thank you so Sue for showing me how to do it!
Well, that's it for today. I'm busy beavering away on some secret DT pieces!!! We're nearly at the target for the blog candy so just another 15 to sign up to follow then I'll have the draw. Until next time, have a happy, healthy, crafty week!
I've got a lovely new set of stamps to play with sent to me by the very generous Sam Poole! Then I thought, what could be better than to play with them and make another entry for the Craft Stamper competition! Then I thought, I could also make this for the Sunday Stamper on Hels blog!!
I do love the layered triple embossing technique so it was all the excuse I needed!
I thought I'd make a card using it this time and here's the finished project.
I've done a step by step so here goes....
I started by covering a piece of white card with Perfect Medium and built up layers of UTEE. I've used Silver, Gold and Bronze as a base. Next I pushed a scouring pad into the Perfect Medium and dabbed it onto the card and applied some Vintage Golden White Cosmic Shimmer Embossing Powder. While it was still hot, I used a teaspoon to sprinkle a little black powder on.
I've also used a mask to apply some Lava Red powder.
The next step was to stamp the Art Collage A6 stamp over the top with Royal Purple StazOn. I've stamped randomly and gone off the edge. After that, I've edged it with Eco Green Black Acrylic Paint.
I used the Creative Expressions Lattice Embossing Folder for the black card and applied Vintage Plum Gilding Wax around the edges. Once the Gilding Wax is dry, give it a polish and stick the main panel onto the black card then onto the DL card.
I stamped a tag with the Art Collage stamp using Seedless Preserves Distress Ink and heat embossed it with clear powder then ran it through the Lattice Embossing Folder before distressing the edges with the same ink.
The next stage is to colour a piece of card for the flowers. For this, I "smooshed" the same Distress Ink onto my craft sheet and spritzed it with water. Dab the card (I've used Coconut White) into the ink and dry. Then dab and dry again and finally spritz with water and dab with some kitchen towel to remove some ink. Dry then stamp the flowers. The stamp set I've used is Steampunk Flowers and I've stamped them with black Archival Ink.
Cut the flowers out and dip one of the smaller ones into clear UTEE in a Melt Pot (or Perfect Medium and embossing powder if you don't have a Melt Pot).
To finish, glue the flowers on and add some gems and a Dazzler.
I had a lot of fun making this and really hope you like it!
The stamps I used are by Sam Poole at Creative Studios (the link is on the right).
No travel photo today as there are so many photo's for the step by step but I'll be back tomorrow for WOYWW as well as on the Creative Studios Design Team blog with a new project. Hope to see you there!!
Many thanks for visiting and leaving your comments.
Good Morning All.
Sorry I didn't make it yesterday but I woke up feeling really rough and achy...almost like 'flu but today I'm fine again. Go figure!
Anyway, enough of that and on to a card I made using one of the fab new stamp sets from Sam Poole at Creative Studios.
I started by stamping the new A6 Tree Bark stamp onto some Kraft card with Coffee Archival Ink. The large tree was also stamped with Coffee Archival but this time onto cream card and heat embossed. The message was stamped the same way.
On the background, I've rubbed 3 colours of gilding wax. I can't remember all the names but I know one was Deep Red and the others were a gold and a copper! That'll teach me to write these things down! I've used the small tree to make a border around the edge of the background and I've randomly stamped the words "Enchanted Souls".
I added gilding wax over the tree and message. I've edged the background, main image and message with Black Soot Distress Ink the gone around the very edge with a black Copic pen.
To finish the card, I've used a strip of Kraft card which I've distressed and tied some twine around it. There's also a Dazzler on it just to give it a bit of bling!
It's a shame that a photo doesn't do justice to the wonderful effects that you get with gilding wax.
All of the products I've used are from Creative Studios. To visit, just click on the link to Sam Poole on the right of this page.
Just a quick travel photo this morning.
We were lucky enough to be working on a 6 week cruise to the Amazon and Caribbean in January this year and on board, teaching scrapbooking was my good friend Michelle (also known as the Art Tart!).
 We had a fantastic time (as did the passengers) and this photo was taken in a small village on the banks of the Amazon. The children dress up in costume and bring their pets to show everyone whenever a cruise ship shows up there. The little girl is holding her pet sloth.
Well, that's all until tomorrow so until then, have a great crafty day!