About Me

My photo
Hi, I'm Pam and thank you for visiting my blog. I have been making cards for over 10 years and am an independent demonstrator for Creative Expressions. I am lucky enough to teach on cruise ships and also get the chance to demo at The Big Stamping and Scrapbooking Show at Alexander Palace. I run workshops for a local craft shop and if anyone would like details of the them please e-mail me at stephen.smith870@ntlworld.com I love to scrapbook but my all time favourite thing is to get messy with ink!
Showing posts with label Cosmic Shimmer Paint. Show all posts

Tuesday, 5 August 2014

Happy, Happy August!!

Good Morning All and a very happy Tuesday.  Not only is it Tuesday but it's my first posting this month which means that there are some gorgeous new stamps to show you from Creative Expressions!

I thought I'd make something cheerful for my desk this week and found an MDF Pen Pot Holder that I bought ages ago but had left languishing at the back of a cupboard!  So here goes!

Paint the holder with Cosmic Shimmer Warm White Matt Chalk Paint.

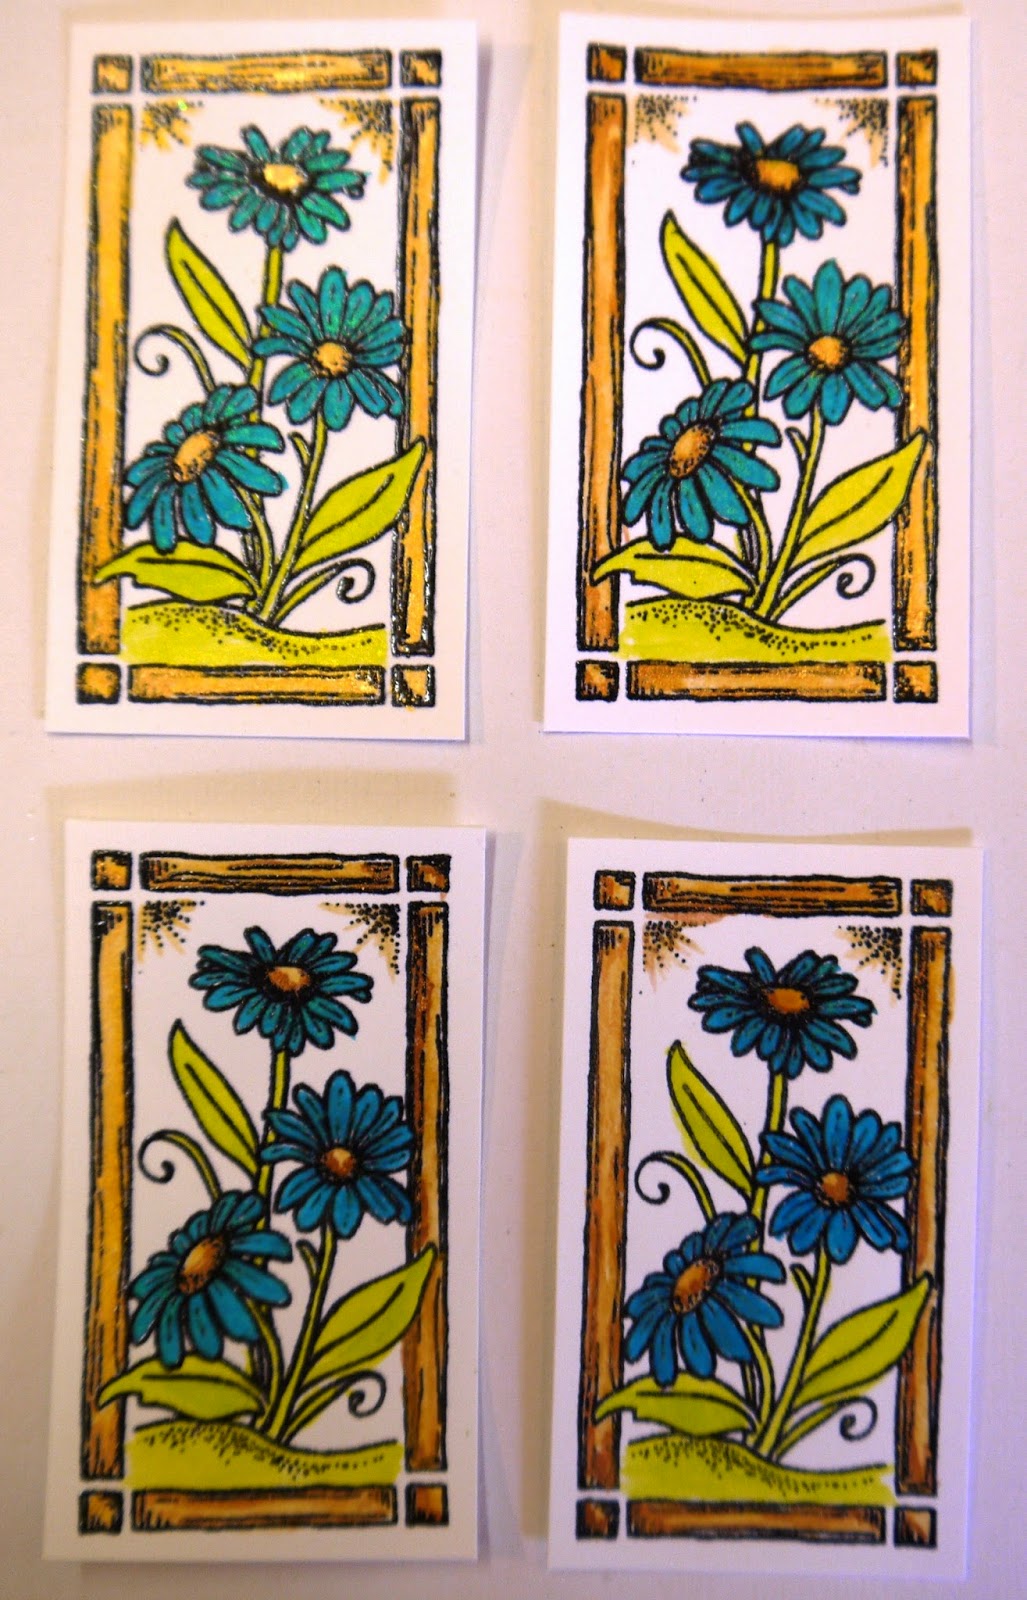
Stamp the flowers 4 times onto Coconut White Card with Black Archival Ink and heat emboss with Cosmic Shimmer Clear Powder.
Paint with Cosmic Shimmer Drawing Inks in the following colours:
Lime Burst, Peacock Teal, Rich Gold and Ancient Copper.
Trim to size.

Cut some Coconut White Card to fit the 4 sides of the pen holder.

Stamp the sentiment "Happy Days" across all 4 pieces of card.  Paint the 1st letters of each word with the drawing Inks.
Put some of the Peacock Teal Drawing Ink onto a craft sheet and water it down before painting around the edges of the card.
Glue onto the pen holder with Cosmic Shimmer Dries Clear Glue.

Paint the edges of the pot and a section of the base with Cosmic Shimmer Midnight Matt Chalk Paint.

Glue the stamped panels into place with Cosmic Shimmer Dries Clear Glue.

And that's the finished project!

It's going to look fab on my desk with all of my essentials in it!!

I do hope you like it.  I'll be back  next week using another stamp from the range.  I'll also be posting tomorrow with a card using the new Xmas stamps from Sam Poole at Creative Studios so I hope you'll visit and see what I've come up with!

Many thanks for dropping by today and until next time....keep crafting!

Tuesday, 27 May 2014

For You

Good Morning All and a very Happy Tuesday.  It's Creative Expressions day here at "The Taming of the Glue" and for this project I've used one of the new Singles Word Stamps.

So without further ado, here's the "how to"!

Ink up the "For You" stamp with black Archival Ink and heat emboss using Cosmic Shimmer Clear Powder on Coconut White Card.

Stamp again onto a sticky note and cut out to make a mask.  Place it over the stamped image.

Mix a small amount of Cosmic Shimmer Spiced Raspberry Matt Chalk Paint with water in a spritzer bottle.  Shake well to mix it.  Spray over the card.

Mix up some of the Cosmic Shimmer Pearl Shimmer Paint the same way and spray over the card again.


Distress the edges of the card with Picked Raspberry and Black Soot Distress Inks.

Paint the stamped image with Picked Raspberry, Shabby Shutters, Tumbled Glass and Black Soot Distress Inks.

Stamp and emboss again on another piece of Coconut White Card.  This time paint only the flowers and add a little Mustard Seed Distress Ink to the flower centres.

Emboss the main card with the A4 Creative Expressions Art Deco Folder.  Very lightly, go over the raised surfaces with Black Soot Distress Ink.
Cut the flowers out and stick them over the top of the main image with 3d foam pads.

Tie some Black Tulle and Black Crushed Satin Ribbon together and stick to the card using a glue dot.
Stick a small square Dazzler to the centre of the faux bow and add 2 stick pins to finish.


And there's the finished project!  I do wish I could pass this around for you to see up close.  The photo really doesn't do it justice.  The pearl paint has given it such a lovely shine that doesn't show up very well on here.

On the plus side, I'm very happy to report that the new Cosmic Shimmer paints mix well with water and make great sprays!

Well, that's it for this week.  I'll be back tomorrow with a make for the Creative Studios Design Team.

Whatever you're doing this week, have a great time and many thanks for visiting and leaving comments.

Tuesday, 29 April 2014

Pretty in Pink!

Good Morning All and welcome to my Creative Expressions DT post.

After the wall hanging last week, I thought I'd make a door hanger for this week's project.  Not like me, I even made it in pink!  Anyway, here we go with the instructions...

Cover a chipboard door hanger with Tin Holtz Shabby Vintage Paper. 
Randomly stamp the Creative Expressions Botanical Spray Singles Stamp with Black Archival Ink.
Distress the edges with Worn Lipstick Distress Ink.

Paint around the edges with Cosmic Shimmer Graphite Shimmer Paint.

Die cut 2 shapes from the Sue Wilson Californian Collection Basic Frame Set A and another 2 from the Decorative Frames B.  With the die still in place on the smallest shape, distress with Spun Sugar Distress Ink.  Remove the die and stamp the bee from the stamp set with Worn Lipstick Ink and the sentiment from the Artsy Floral Stamp Set with Black Archival Ink.  Matt and layer adding the top piece with 3d pads.

Cut the leaves using the Sue Wilson Faux Quilled Leaves Craft Dies from Foundations Black Cardstock.
Emboss a piece of Coconut White Cardstock with the Creative Expressions Interlocking Circles Embossing Folder.
Die cut the flowers from the Classic Rose Craft Die Set.

Make the roses into 3d flowers.  Glue the sentiment into place then add the leaves and flowers to finish.

And that's the finished project!  I hope you like it.

The new dies are gorgeous to use and cut so well.  I can see me using them over and over again!

Onto other matters!  Thank you to everyone who came to the April Workshops, I hope you all had a good time (even without the usual Distress Inks!)  The workshop for June 14th is now sold out but there are a few spaces left on June 28th.  Please phone Henry at the shop to book.

I promised an "Open Day" in my studio at the bottom of the garden!  It's going to happen on 11th May between 10am and 4pm.  I'll have lots of 12x12 papers and 12x12 cardstock for sale as well as being able to show you some of the new stamps and dies.  It'll also be an opportunity to ask any crafty questions and try out the Melt Pot etc.
I haven't put my address on here (thought it would be best not to!).  If you'd like to come along please e-mail me (the addy is at the top of the page) or phone on 01304 332277 and I'll give you directions.  It is in River near Dover and very easy to find!
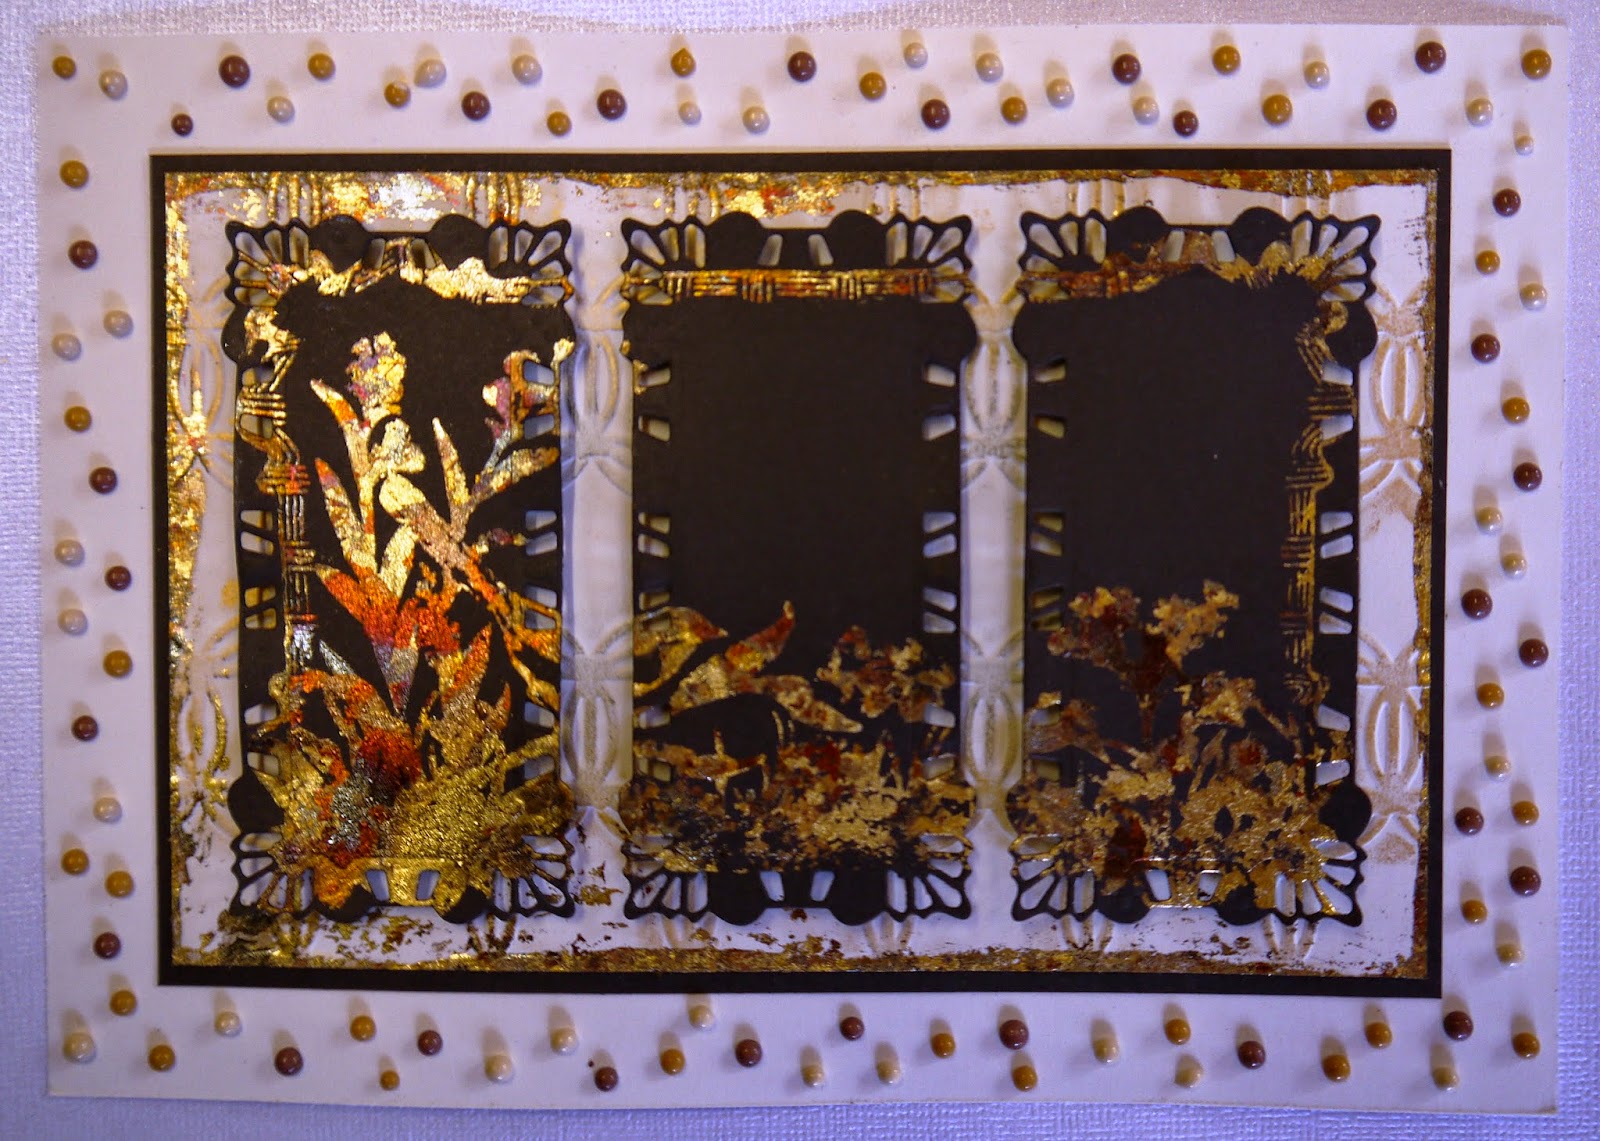
And just to finish, here's a card made using the Spanish Collection of dies, a matching stamp from the Singles Range and Gilding Flakes.
 
I'll be back in the morning with a new project for Creative Studios, so until then, have a great day and many thanks for visiting.  Hope to see you on May 11th!

Wednesday, 9 April 2014

Mister Sprays and Texture Paste

Well, here we are again, back with another project featuring Sam Poole's fab Woodland Animal stamps.

This time I've also used the new Doodle Cross Mask along with the new Cosmic Shimmer Mister Sprays and Sparkle Texture Paste.

It's wonderful to have so many new products come out at the same time...lots to play with!

I did dig out a tree stamp that Sam designed a little while ago for this card....it's great to have products that you can mix and match.

I hope you like it...it would be a great card for a new baby boy (just change the colours for a girl!)

All the demo's are prepped ready for Ally Pally.  I've got Cosmic Shimmer Paint techniques and Ink Spray Mister Techniques lined up so I do hope you'll be able to join me there.

The workshops at Martells have sold out but there will be more in June.  I'll have the dates on here next week.

Until next time, thanks for visiting and leaving any comments.  Have a great week!