About Me

My photo
Hi, I'm Pam and thank you for visiting my blog. I have been making cards for over 10 years and am an independent demonstrator for Creative Expressions. I am lucky enough to teach on cruise ships and also get the chance to demo at The Big Stamping and Scrapbooking Show at Alexander Palace. I run workshops for a local craft shop and if anyone would like details of the them please e-mail me at stephen.smith870@ntlworld.com I love to scrapbook but my all time favourite thing is to get messy with ink!
Showing posts with label gilding flakes. Show all posts

Thursday, 19 November 2015

Let's Decorate!


Good Morning All and a very Happy Thursday!

I've moved away from the cards this week and thought I'd make a decoration for the house instead.

I'll apologise in advance for the dodgy colours in the photos!  The light was awful and everything looks a lot darker than in "real life".

Anyway, let's get started....


For some strange reason, I can't turn the photo around so please look at it sideways on!

Cover a blank MDF banner shape with Craft Consortium Decoupage Paper using the Cosmic Shimmer Glossy Seal and Glaze.

Pick up some Flake and Glitter Glue on a piece of Cut 'n Dry Foam and dab around the edges.  Apply Cosmic Shimmer Silver Moon Gilding Flakes.
Edge with Black Archival Ink.

Don't panic if you get a bit of ink on the banner as you'll be covering it up!

Die cut the Festive Collection - Deboss Snowflake from a piece of Coconut White Card.
Cover another piece of card with the decoupage paper and cut out the oval from the same set.
Cut out the oval and it's patterned centre from white card.
Layer the pieces up and glue into position

Add small Always and Forever Rhinestone Gems to the centres of the debossed snowflakes.
Die cut the Festive Collection - Holly Sprays from white card and glue into position.


Add white seam binding to hang the decoration.

And you're finished!

I hope you like it, it's very quick to make and you could make several and thread them together.

As always, everything used is from Creative Expressions.

Well, that's all for this week except to say thank you for visiting and leaving all of your lovely comments.  I do hope everyone is safe after the awful weather we've been having.

I'll be back next week with another Christmas project so until then, have a happy, crafty week!

Thursday, 13 August 2015

Peace

Good Morning All and a very Happy Thursday!

I'm back with another one of the new Sue Wilson Festive Collection Dies and this one is gorgeous!!!!

So without further ado...let's get started....

Apply swirls of Broken China, Faded Jeans and Dusty Concord Distress Inks to a piece of Coconut White Card.
Spritz lightly with water, dab with a piece of kitchen towel then dry.
Go around the edges with the Faded Jeans Distress Ink.  Use Cut 'n Dry foam for applying the inks.

Apply some Cosmic Shimmer Flake and Glitter Glue to the small star stamp (designed by Sam Poole last year for Creative Expressions....still available!).  Stamp onto the distressed background and add Cosmic Shimmer Silver Moon Gilding Flakes,

Matt and layer onto Foundations Vintage Silver Card then glue onto a 6x6 card blank.

Die cut the Festive Collection-Dove of Peace (which includes the word "Peace") twice from Coconut White card.
On one of the doves, lightly apply some Broken China Distress ink.
Glue the 2 doves together leaving the wings free.
Glue into position on the card and shape the top wing.
Glue the words onto position and you're finished!

I hope you like it!  It was really nice to get inky...sometimes we forget to use the older techniques but this worked so well with the dove.

Well, that's it for this week.  I will be giving away one of the cards again this month so on the blog for the 27th, tell me which one is your favourite from this months selection and it could be winging its way to you!

Until next time, have a happy, crafty week!

Thursday, 6 August 2015

Going for Gold

Good Morning All and a very Happy Thursday!

Lots more Christmas cards to show you over the next few weeks using the new Sue Wilson Festive Collection Dies but I thought I'd start with the big Snowflake Background die....it's stunning!

So, let's get started.....

Cut out the Festive Collection-Snowflake background die from Coconut White Card.
Cut a piece of double sided adhesive and place onto some white card.  Apply Cosmic Shimmer Sunlight Speckle Gilding Flakes.
Glue the snowflake background over the top with Cosmic Shimmer Dries Clear Glue.
Matt and layer onto Coconut White card.

Emboss a piece of Foundations Vintage Gold Card with the A4 Swirling Holly Folder.
Matt and layer then add to the A5 card blank.

Ink up the sentiment with Perfect Medium and stamp onto Coconut White card.  Heat emboss with Cosmic Shimmer Bright Gold Powder.  The stamp is from a range of winter animals that Sam Poole designed for Creative Expressions last year...this one came with the deer and they're still available!
Cut out with the Spellbinders Classic Oval Large Dies.
Attach to the card with 3d foam pads.

Coat the MDF shapes from the Christmas Mega Grab Bag with Perfect Medium, add the Bright Gold Powder as before and heat emboss.
When cool, apply Cosmic Shimmer Flake and Glitter Glue then add Cosmic Shimmer Diamond Snow Glitter Jewels.
Glue into position and add the 5mm and 8mm white pearls to the centres.

And there's the finished card.  I wish you could see the sparkle on the MDF shapes....they looks so much better "in the flesh".

Anyway, I hope you like it!
Everything used is from Creative Expressions.

While you're reading this I'll be away at another festival but I'll be back next week.
I did say I'd pick a winner for one of last months cards and the winner is Rosemary.  Would you drop me an e-mail with your address and I'll get your card sent out.  I warn you though, it is only a card front!  They're just easier to photograph like that!  I'll get it in the post when I get back next Thursday.

Many thanks for stopping by and leaving comments...much appreciated.

Until next time, have a happy, crafty week!

Tuesday, 2 December 2014

Top Hat and Tails.

Good Morning all and a Very Happy Tuesday!

Another project this week using products from Creative Expressions.  I always love it when I get new stamps from them to play with and the new dance stamps are no exception.

I've made a wall hanging for this weeks project as I wanted to make a little Xmas gift for a friend...here's hoping she likes it!

Anyway, let's get started......

Cover a Pronty Wall Plaque with Couture Creations 12x12 Damask Paper.  Paint around the edges with Black Soot Distress Paint.
Place the Sunrise Mask over the top half of the plaque.  Dab through the mask with Flake and Glitter Glue.
Remove the mask then apply Cosmic Shimmer Aurora Lights Gilding Flakes.
Dab the glue around the edges of the plaque then apply more of the Gilding Flakes.

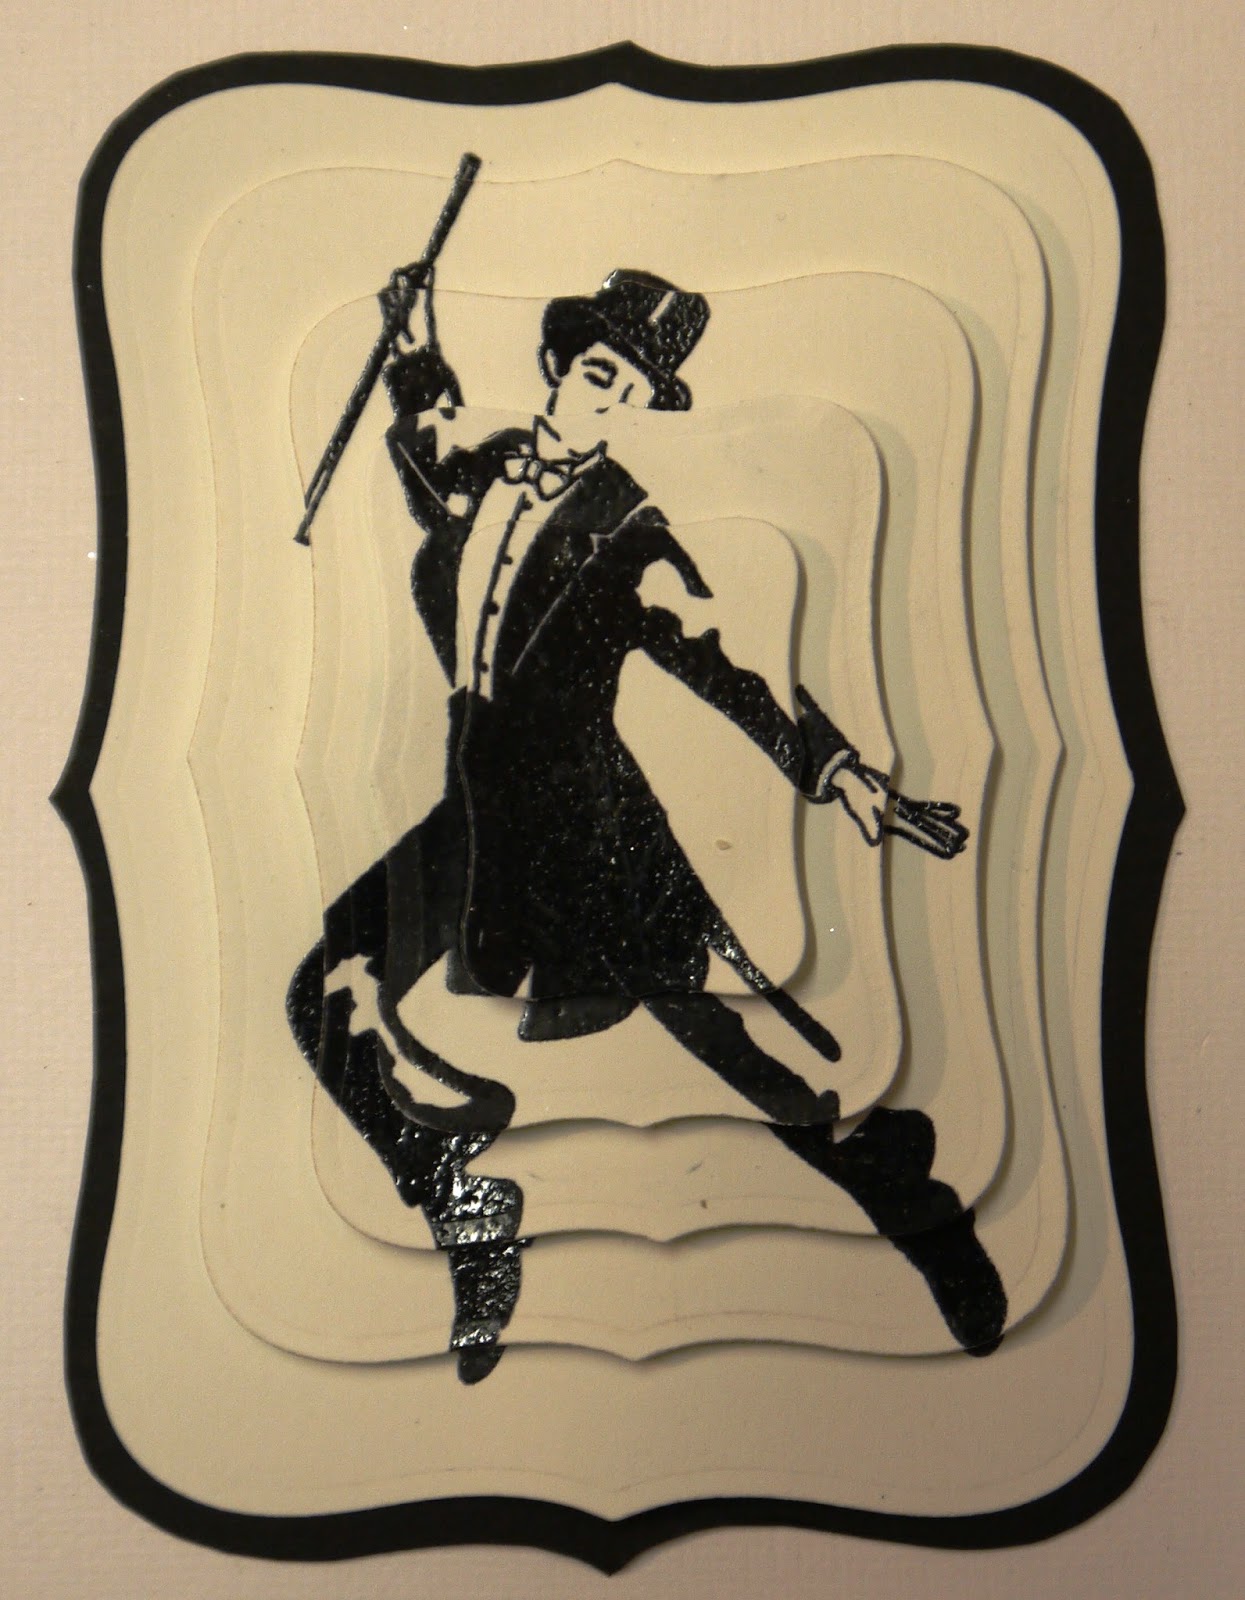
Ink up the "Top Hat and Tails" Singles Stamp with Black Archival Ink and stamp 5 times onto Coconut White Card.  Heat emboss with Cosmic Shimmer Clear Powder.
Die cut the stamped images with Spellbinders 8 Labels.
Position them so that the image is cut with an even border each time but getting progressively smaller.

I hope that the picture explains what I mean!
Draw around the largest die used onto Black Card then cut out.  Glue the largest of the dancers images onto the black card, then build up the layers using 3d foam pads.

Ink up the sentiment from the A5 "Step by Step" Stamp Set with Black Archival.  Heat emboss with Cosmic Shimmer Clear Powder.
Cut out with the Spellbinders Standard Circles Small Dies.
Draw around the outer edge of the die on black card then cut out as a matt.

Glue the dancer and sentiment onto the plaque.
Add Black Seam Binding as a hanger.

And that's the finished project...hope you like it!

Julia Watts has done such a good job using these stamps that I wanted to do something very different with them.  Do go to her blog and take a look, there are some gorgeous cards using the dance stamps.

Well, that's it for today...can't believe that it's December already!  Where has this year gone!!

So, until next time, have a happy, crafty week!

Tuesday, 18 November 2014

A Christmas Door Hanger

Good Morning all and a Very Happy Tuesday.

I thought I'd share a project for Christmas to decorate a door with.  All of the products used are from Creative Expressions except for the chipboard hanger.

So let's get started.....

Cover a chipboard hanger with Couture Creations Vintage Christmas Paper.
Cut out the sentiment from a piece of the same paper.
Matt and layer the sentiment onto coordinating paper.

Apply Flake and Glitter Glue to the small Holly Spray Stamp from the A5 Christmas Post Stamp Set.  Stamp randomly onto the door hanger then apply Cosmic Shimmer Mulled Wine Gilding Flakes.
Paint around the edges of the hanger with Black Soot Distress Paint.

Colour a piece of Coconut White Card with Evergreen Bough and Frayed Burlap Distress Inks.  Stamp the Robin from the Christmas Post Set with Black Archival Ink onto the coloured card. 
Heat emboss with Cosmic Shimmer Clear Powder.
Lift some of the colour from the image with a wet paintbrush to give highlights.
Cut out with Spellbinders Standard Circles Small Dies.
Draw around the outer edge of the die on black card and cut out.
Cut out the next largest die using Coconut White Card with Double Sided Adhesive on it.
Apply Mulled Wine Gilding Flakes.  Matt and layer attaching the top layer with 3d foam pads.
Apply Evergreen Bough Distress Ink over the top of the sentiment.  Cover with Cosmic Shimmer Clear Embossing Powder then heat emboss.
Cut a piece of Coconut White card and, using the double sided adhesive, apply Gilding Flakes as before.
Cut a piece of black card then matt and layer the sentiment adding the top layer with 3d foam pads.

Attach the Robin and the Sentiment to the hanger with 3d foam pads.

And there's the finished project!

I do wish I could pass the real thing around for you all to look at....the photo really doesn't do it justice!  The colour of the background paper looks much lighter in the photo than it does on the actual project and the colours go together so well.

Anyway, hope you like it!  Well, that's it for this week.  Many thanks for stopping by and leaving comments.  I'll be back next week with another project for Christmas so until then, have a happy, crafty week!

Tuesday, 14 October 2014

The Flowers of Tomorrow

Good Morning All and a very Happy Tuesday!

I'm back with another project using the Frame stamps from Creative Expressions and today I've used the Curled Frame stamp to make a wall hanging.  Let's get started.....

Cover an MDF frame with Teresa Collins paper.  Apply Flake and Glitter Glue to the Botanicals Spray stamp and stamp onto the paper.  Apply Calypso Cosmic Shimmer Gilding Flakes.
Paint the edges of the plaque with Cosmic Shimmer Graphite Shimmer Paints.


Ink up the Curled Frame stamp with Flake and Glitter Glue and stamp onto Coconut White Card.  Apply Calypso Gilding Flakes.  Trim to size then matt and layer onto black card.


Stamp just the text section again with Black Archival Ink then heat emboss with Cosmic Shimmer Clear Powder.  Trim to size then place over the top of the gilded text using 3d foam pads.
Add a strip of Teardrop Black Lace along the bottom of the plaque.
Glue the stamped image into position with Cosmic Shimmer Dries Clear Glue.

Using Spellbinders Spiral Blossom 3 and Bitty Blossoms Dies, cut some flowers using co-ordinating Teresa Collins Papers.  Die cut the leaves from the Foliage set using Black Card and some Butterflies from the Finishing Touches Magical Butterflies set using the Teresa Collins papers.

Tie some Black Seam Binding through the holes in the plaque to make a hanger and there we have it, the finished wall hanging!

I hope you like it....something cheerful on a wet and blustery day!

Do think of me today as I'll be getting VERY wet and muddy on an archaeological dig near Stonehenge!  Hopefully, it'll be worth it and we'll get some amazing finds!!

Well, that's all for today.  Many thanks for stopping by and leaving comments, they are much appreciated.

Until next time, have a happy, crafty week!

Tuesday, 8 July 2014

Just a Note

Good Morning All and a very Happy Tuesday!

I hope you're all well and had a great week.  I'm busy working on the projects for September's workshops and also the Xmas ones in October....aargh....I've used the dreaded "C" word!!!

Anyway, let's get on with a project for the Creative Expressions Design Team.

For this one, I've used the Decorative Elements Mask.  So let's get started....

Cut a piece of Foundations Teal Card to size.  Place the Decorative Elements Mask over the top and tape into position.
Using some Cut 'n Dry foam, dab Cosmic Shimmer Flake and Glitter Glue through the chosen corner of the mask.
Remove the mask and apply Cosmic Shimmer Harvest Moon Gilding Flakes.
Do the same on all 4 corners of the card.


Stick some Creative Expressions Double sided adhesive onto a piece of white card.
Using the Spellbinders Italian Collection Calabria Die, cut out.
Remove the protective covering and apply the same Gilding Flakes as before.


Glue onto a piece of Teal Card and cut to size.
Cut a circle of White Card with the Spellbinders Grand Circles.  Matt and layer.


Matt and layer the Teal Background with White and Teal Card.
Attach the circles with 3d foam pads.


Using the Spellbinders Italian Collection Decorative Frames Dies, cut a circle from white card.
Cut from Spellbinders Peony Dies a piece of Teal card.

Stamp "Just a Note" onto a piece of white card with Black Archival Ink.  Heat Emboss with Cosmic Shimmer Clear Powder. Cut out using the Spellbinders Peony Dies.


Matt and layer.  Add to the card with 3d foam pads.


And that's the finished card!

I do love Gilding Flakes....just remember not to sneeze, leave a window or door open and everything should be fine!!

Well, that's it for today.  I'll be back in the morning with a design for the Creative Studios Design Team.
Until the, have a happy, crafty day!


Tuesday, 29 April 2014

Pretty in Pink!

Good Morning All and welcome to my Creative Expressions DT post.

After the wall hanging last week, I thought I'd make a door hanger for this week's project.  Not like me, I even made it in pink!  Anyway, here we go with the instructions...

Cover a chipboard door hanger with Tin Holtz Shabby Vintage Paper. 
Randomly stamp the Creative Expressions Botanical Spray Singles Stamp with Black Archival Ink.
Distress the edges with Worn Lipstick Distress Ink.

Paint around the edges with Cosmic Shimmer Graphite Shimmer Paint.

Die cut 2 shapes from the Sue Wilson Californian Collection Basic Frame Set A and another 2 from the Decorative Frames B.  With the die still in place on the smallest shape, distress with Spun Sugar Distress Ink.  Remove the die and stamp the bee from the stamp set with Worn Lipstick Ink and the sentiment from the Artsy Floral Stamp Set with Black Archival Ink.  Matt and layer adding the top piece with 3d pads.

Cut the leaves using the Sue Wilson Faux Quilled Leaves Craft Dies from Foundations Black Cardstock.
Emboss a piece of Coconut White Cardstock with the Creative Expressions Interlocking Circles Embossing Folder.
Die cut the flowers from the Classic Rose Craft Die Set.

Make the roses into 3d flowers.  Glue the sentiment into place then add the leaves and flowers to finish.

And that's the finished project!  I hope you like it.

The new dies are gorgeous to use and cut so well.  I can see me using them over and over again!

Onto other matters!  Thank you to everyone who came to the April Workshops, I hope you all had a good time (even without the usual Distress Inks!)  The workshop for June 14th is now sold out but there are a few spaces left on June 28th.  Please phone Henry at the shop to book.

I promised an "Open Day" in my studio at the bottom of the garden!  It's going to happen on 11th May between 10am and 4pm.  I'll have lots of 12x12 papers and 12x12 cardstock for sale as well as being able to show you some of the new stamps and dies.  It'll also be an opportunity to ask any crafty questions and try out the Melt Pot etc.
I haven't put my address on here (thought it would be best not to!).  If you'd like to come along please e-mail me (the addy is at the top of the page) or phone on 01304 332277 and I'll give you directions.  It is in River near Dover and very easy to find!
And just to finish, here's a card made using the Spanish Collection of dies, a matching stamp from the Singles Range and Gilding Flakes.
 
I'll be back in the morning with a new project for Creative Studios, so until then, have a great day and many thanks for visiting.  Hope to see you on May 11th!

Tuesday, 11 March 2014

Pretty in Pink

Good Morning All and a very Happy Tuesday.

As it's Tuesday, it can only mean one thing, and that's Design Team day for Creative Expressions.  This week I've come up with a design using two of the new Singles range of stamps.  They are called "Engraved Elegance" and "Scented Corner".

Start by applying Flake and Glitter Glue to the Scented Corner stamp. Stamp it in 2 corners of a piece of Coconut White card that has been trimmed to size.  Apply Summer Meadow Gilding Flakes.
Dry Emboss with the Vintage Plumes Embossing Folder.


Ink up the Engraved Elegance Perfume Bottle with Perfect Medium and stamp onto a piece of Coconut White card.  Heat emboss with Cosmic Shimmer Bright Gold Powder.
Using Spun Sugar Distress Ink, edge the embossed piece of card and the card with the perfume bottle on.  Use the same ink to make a watercolour and paint the perfume bottle.


Matt and layer onto Black Foundation Cardstock.
Tie a double bow with Dusky Pink Sheer Wrinkled Edge Ribbon.
Take a clear Dazzler, cover it with Perfect Medium Ink and heat emboss with Cosmic Shimmer True White Powder to change it's colour.


Stick the stamped image onto the card with 3d foam pads.  Attach the ribbon and the Dazzler with dry glue dots.


It's not my usual style (I'm not known for "girly" designs!) but it does look pretty and would make a great Mother's Day card.  I hope you like it!

I'll be back tomorrow with a card for the Creative Studios Design Team, hope to see you then!

Tuesday, 11 February 2014

Baroque Frame

Good Morning All and a Happy Tuesday!  Today is my turn to design a project fro Creative Expressions and I thought I'd show you a gift idea that might be great for Mother's Day or possibly, an anniversary.

Start by covering the Pronty MDF Baroque Square Photo Frame with Tim Holtz Vintage Shabby Paper.


Apply Flake and Glitter Glue to the A6 Fern Background Stamp and without using an acrylic block, randomly stamp over the frame.  Apply Cosmic Shimmer Silver Moon Gilding Flakes.


Paint the backing board with White Eco-Green Acrylic Paint as well as the edges of the front frame and the aperture.

Die cut 2 Spellbinder Circles, 1 from the patterned paper and a smaller one from Coconut White Cardstock.  Stamp the sentiment from the Artsy Floral A5 stamp set onto the white card using Black Archival Ink and heat emboss with Cosmic Shimmer Clear Powder.

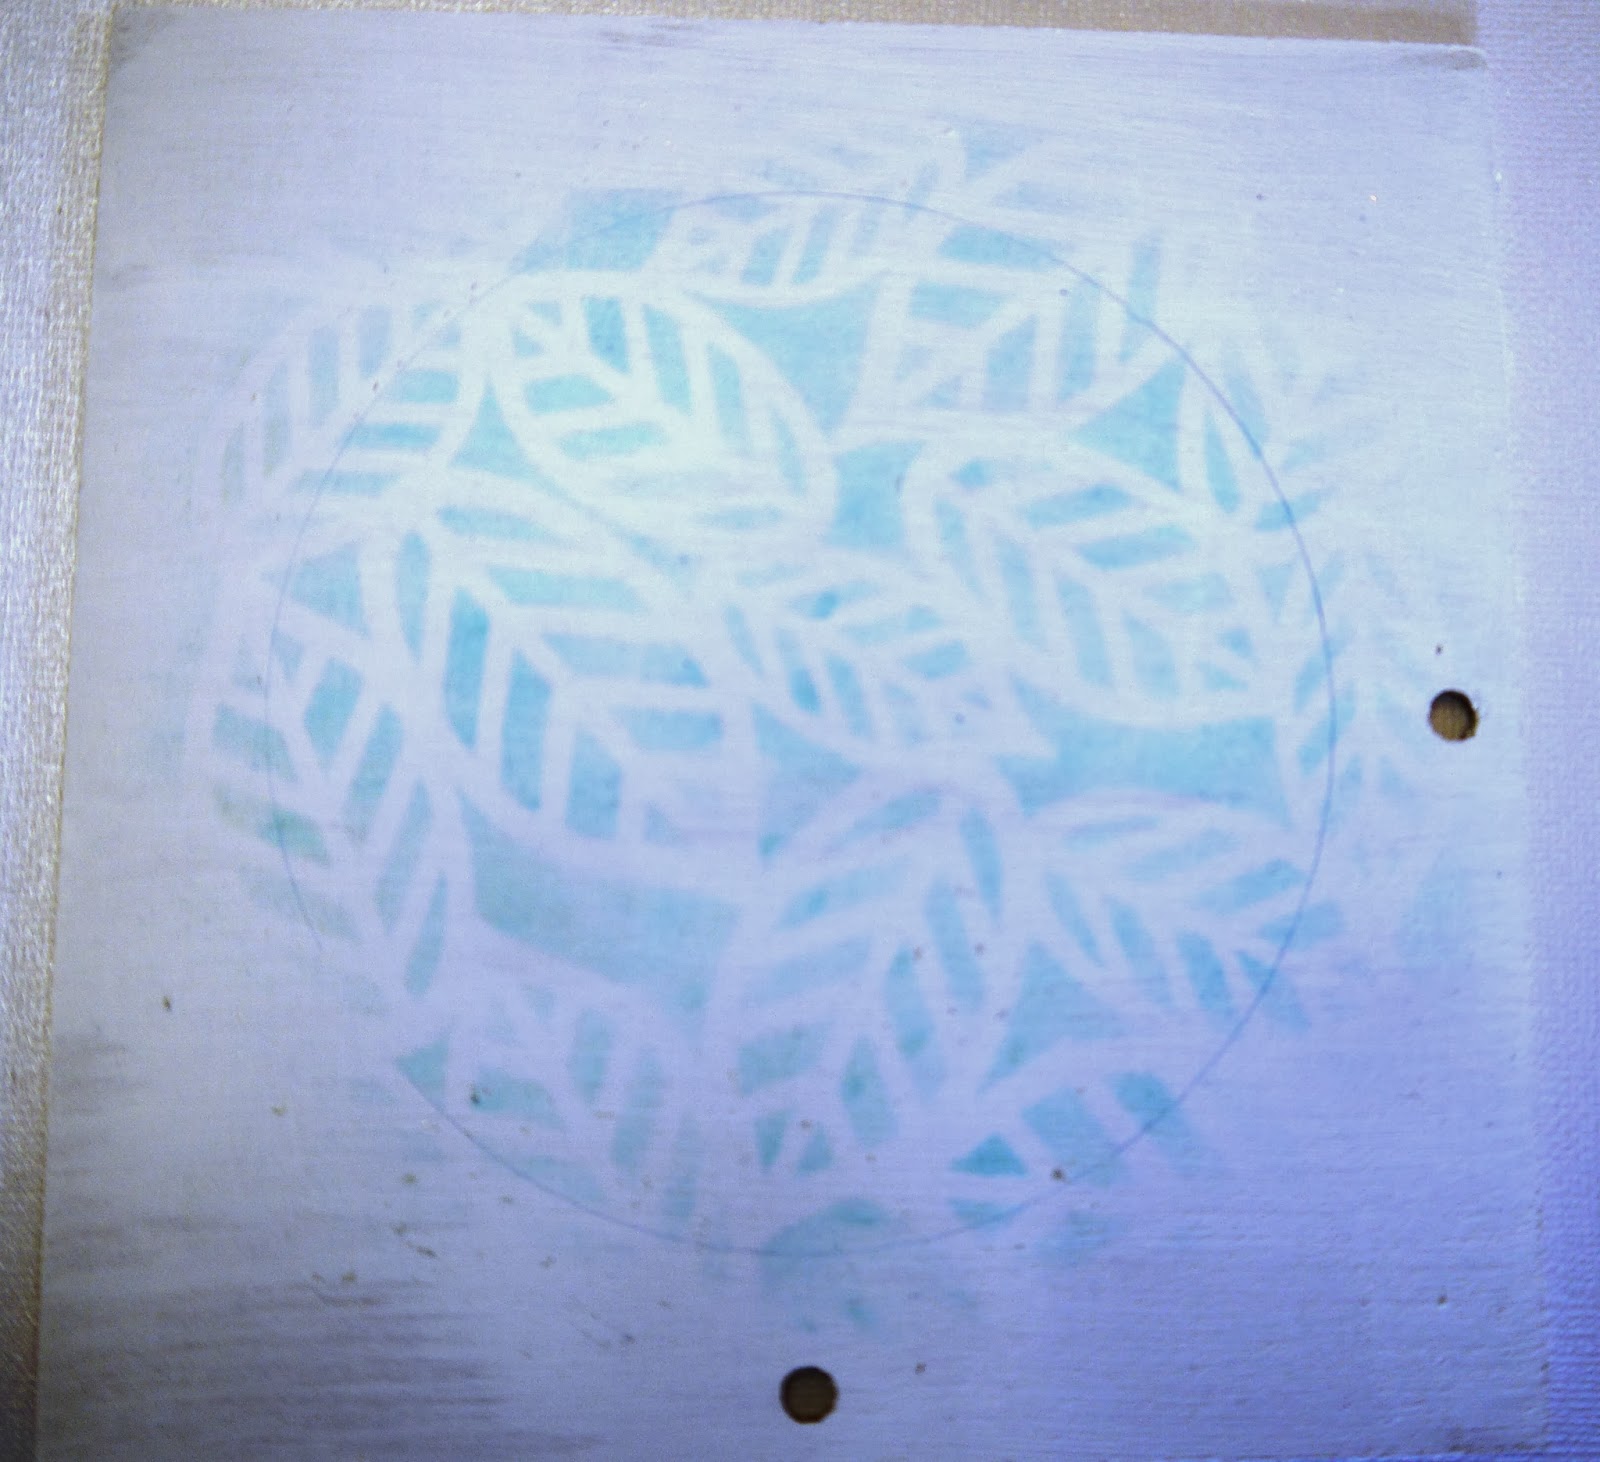
Place the frame over the back board and mark where the aperture will sit.  Place the Leaves Mask over the circle and dab through with Tumbled Glass Distress Ink.

Glue the sentiment into place.  Glue the frame to the backing board.

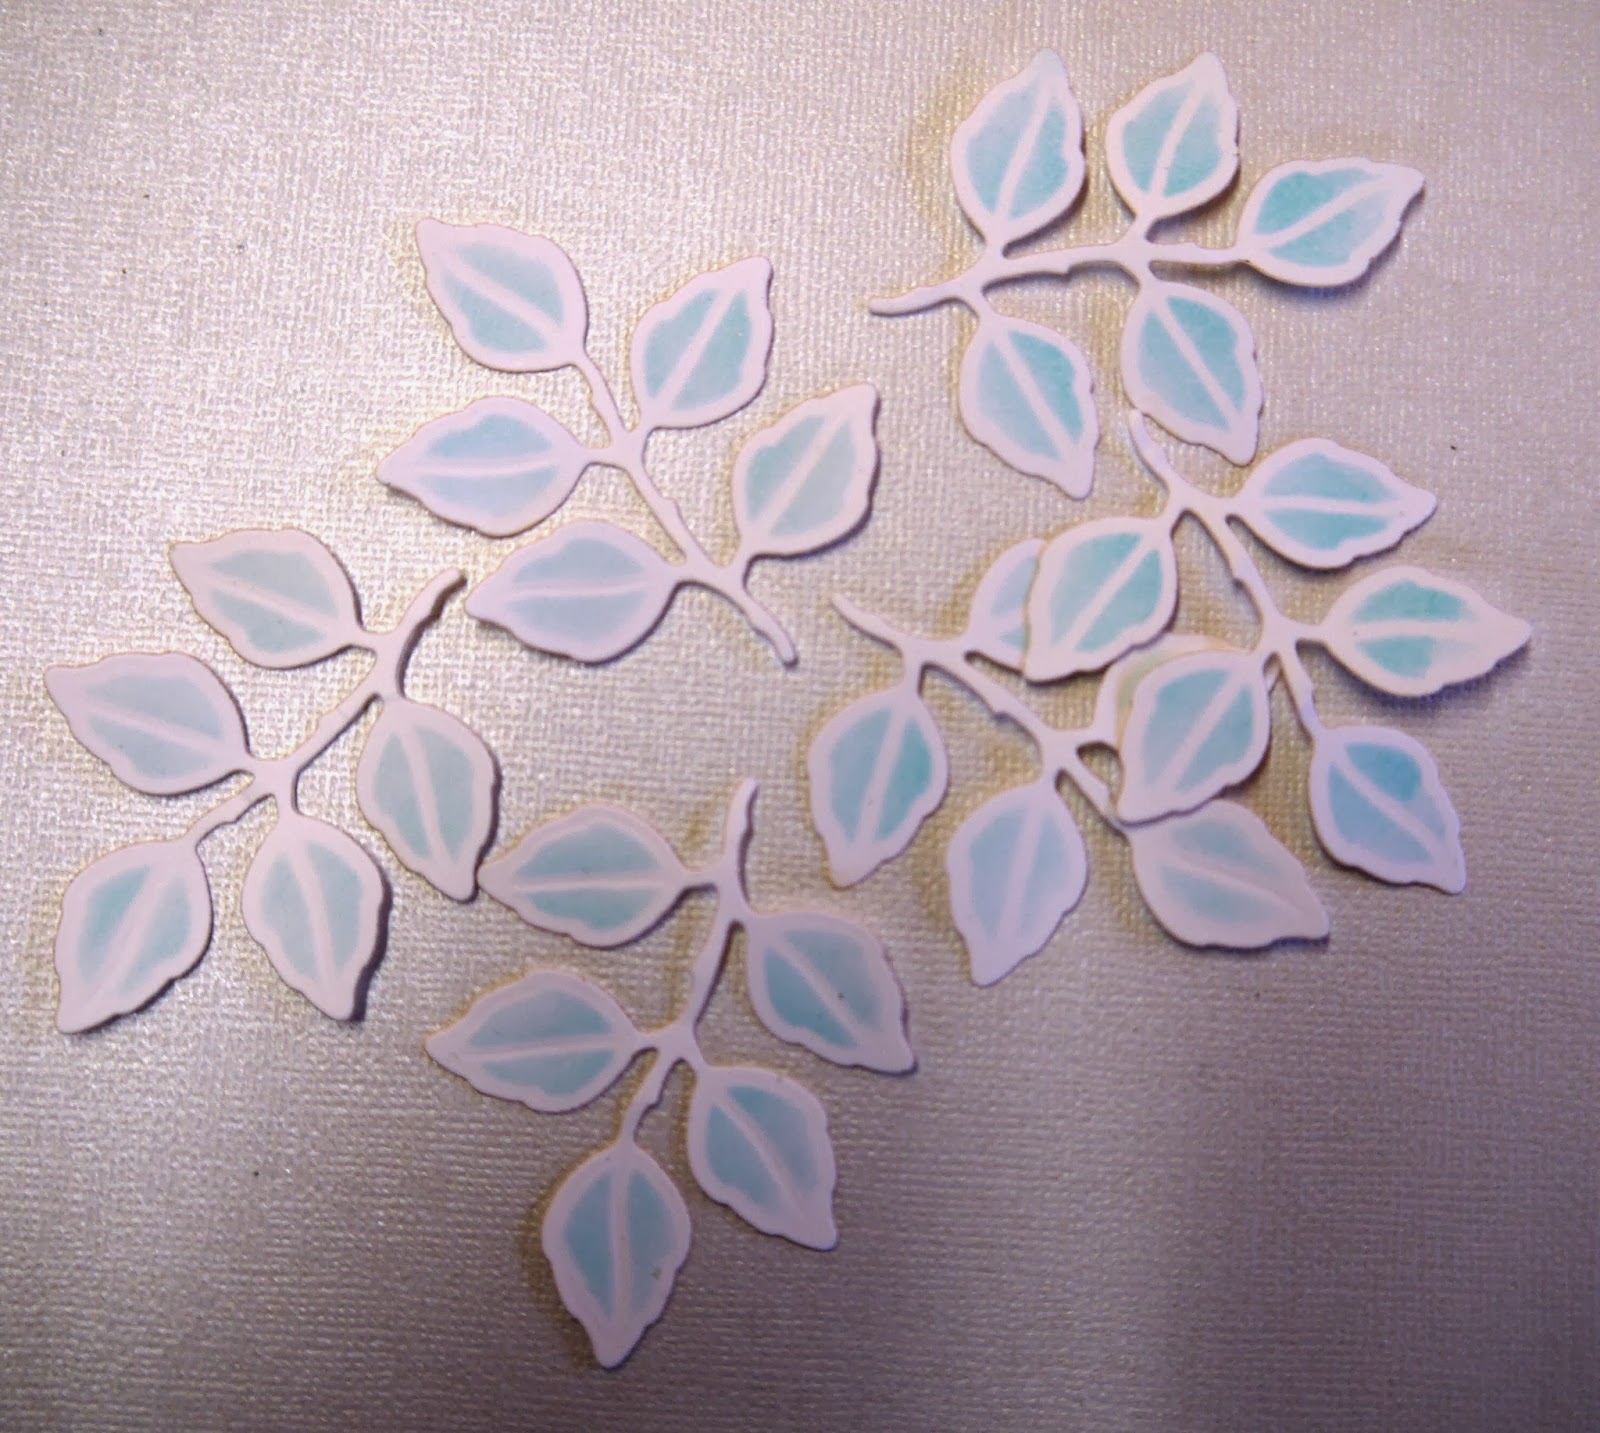
Die cut leaves from the Spellbinder Foliage set and, with the die still in place, ink through with Tumbled Glass Distress Ink.

Stamp the flower from the Studio 490 Accents for Art stamp set onto Coconut White Cardstock with Black Archival Ink.
Cut the flowers out and distress the edges with the Tumbled Glass Ink.  Make the flowers 3d (there are a lot of tutorials already on blogs....Sue Wilson has a brilliant one on the Particraft blog).

Using the Melt Pot, melt some Cosmic Shimmer UTEE and dip the flowers.

Arrange the leaves and flowers and glue into place on the frame.

I really enjoyed making this, I love to do altered art and the Pronty MDF shapes from Creative Expressions are brilliant to work with.
Everything I've used today is available from Creative Expressions and you can find your nearest retailer by visiting their website.  Hope you like the project!

The winner of the blog candy is Christine B.  Please e-mail your address and I'll get it in the post to you.

Many thanks for visiting and leaving comments.
I'll be back tomorrow with a project for Creative Studios so until then, have a happy, craft time and stay dry!!