Good Morning All and a very Happy Thursday!
Lots more Christmas cards to show you over the next few weeks using the new Sue Wilson Festive Collection Dies but I thought I'd start with the big Snowflake Background die....it's stunning!
So, let's get started.....
Cut out the Festive Collection-Snowflake background die from Coconut White Card.
Cut a piece of double sided adhesive and place onto some white card. Apply Cosmic Shimmer Sunlight Speckle Gilding Flakes.
Glue the snowflake background over the top with Cosmic Shimmer Dries Clear Glue.
Matt and layer onto Coconut White card.
Emboss a piece of Foundations Vintage Gold Card with the A4 Swirling Holly Folder.
Matt and layer then add to the A5 card blank.
Ink up the sentiment with Perfect Medium and stamp onto Coconut White card. Heat emboss with Cosmic Shimmer Bright Gold Powder. The stamp is from a range of winter animals that Sam Poole designed for Creative Expressions last year...this one came with the deer and they're still available!
Cut out with the Spellbinders Classic Oval Large Dies.
Attach to the card with 3d foam pads.
Coat the MDF shapes from the Christmas Mega Grab Bag with Perfect Medium, add the Bright Gold Powder as before and heat emboss.
When cool, apply Cosmic Shimmer Flake and Glitter Glue then add Cosmic Shimmer Diamond Snow Glitter Jewels.
Glue into position and add the 5mm and 8mm white pearls to the centres.
And there's the finished card. I wish you could see the sparkle on the MDF shapes....they looks so much better "in the flesh".
Anyway, I hope you like it!
Everything used is from Creative Expressions.
While you're reading this I'll be away at another festival but I'll be back next week.
I did say I'd pick a winner for one of last months cards and the winner is Rosemary. Would you drop me an e-mail with your address and I'll get your card sent out. I warn you though, it is only a card front! They're just easier to photograph like that! I'll get it in the post when I get back next Thursday.
Many thanks for stopping by and leaving comments...much appreciated.
Until next time, have a happy, crafty week!
Good Morning All and a very Happy Thursday!
Back again with the last of the Christmas makes for this month and I've gone back to probably my favourite dies....the Poinsettias.
Anyway, let's get started!
Emboss a piece of Foundations Vintage Gold Card and a piece of Coconut White Card with the A4 Swirling Holly Folder.
Use the Portuguese Collection-Border, Corner and Tag set to cut diagonally across the gold card. Glue both pieces onto the white card.
Matt and layer onto Vintage Gold Card.
Stick some Double Sided Adhesive onto a piece of Coconut White card and die cut the Festive Collection-Classic Poinsettia.
Remove the backing then apply Cosmic Shimmer Fire Red Polished Silk Glitter.
Shape the petals, glue together in layers then glue onto the card.
Add 8mm black pearls to the flower centres.
Place another piece of Double sided adhesive onto Coconut White Card.
Die cut 2 tags from the same set of Portuguese dies.
Cut them in half then apply the same glitter as before.
Stamp the sentiment with Black Archival Ink and heat emboss with Cosmic Shimmer Clear Powder.
Cut out using the Spellbinders Classic Circles Small Dies.
Glue the 4 pieces of glittered card around the edge of the circle.
Attach to the card with 3d foam pads.
And there's the finished card...quick and elegant!
I always forget that dies like the tags can be cut up to form different shapes but it does give you so many options for using them.
All of the products I've used are from Creative Expressions.
Well, that's it for this week. Many thanks for stopping by and leaving comments, they are much appreciated. Don't forget to tell me which is your favourite and it could be winging its way to you!
Until next time, have a happy, crafty week!
Good Morning All and a very Happy Thursday!
While you're reading this, I'll be away at a music festival being an ageing hippy! It's a lovely festival near Shaftesbury in Dorset called The Larmer Tree and this year Tom Jones is headlining...i will not be throwing undies at the stage!
Anyway, back to this weeks project for Creative Expressions...
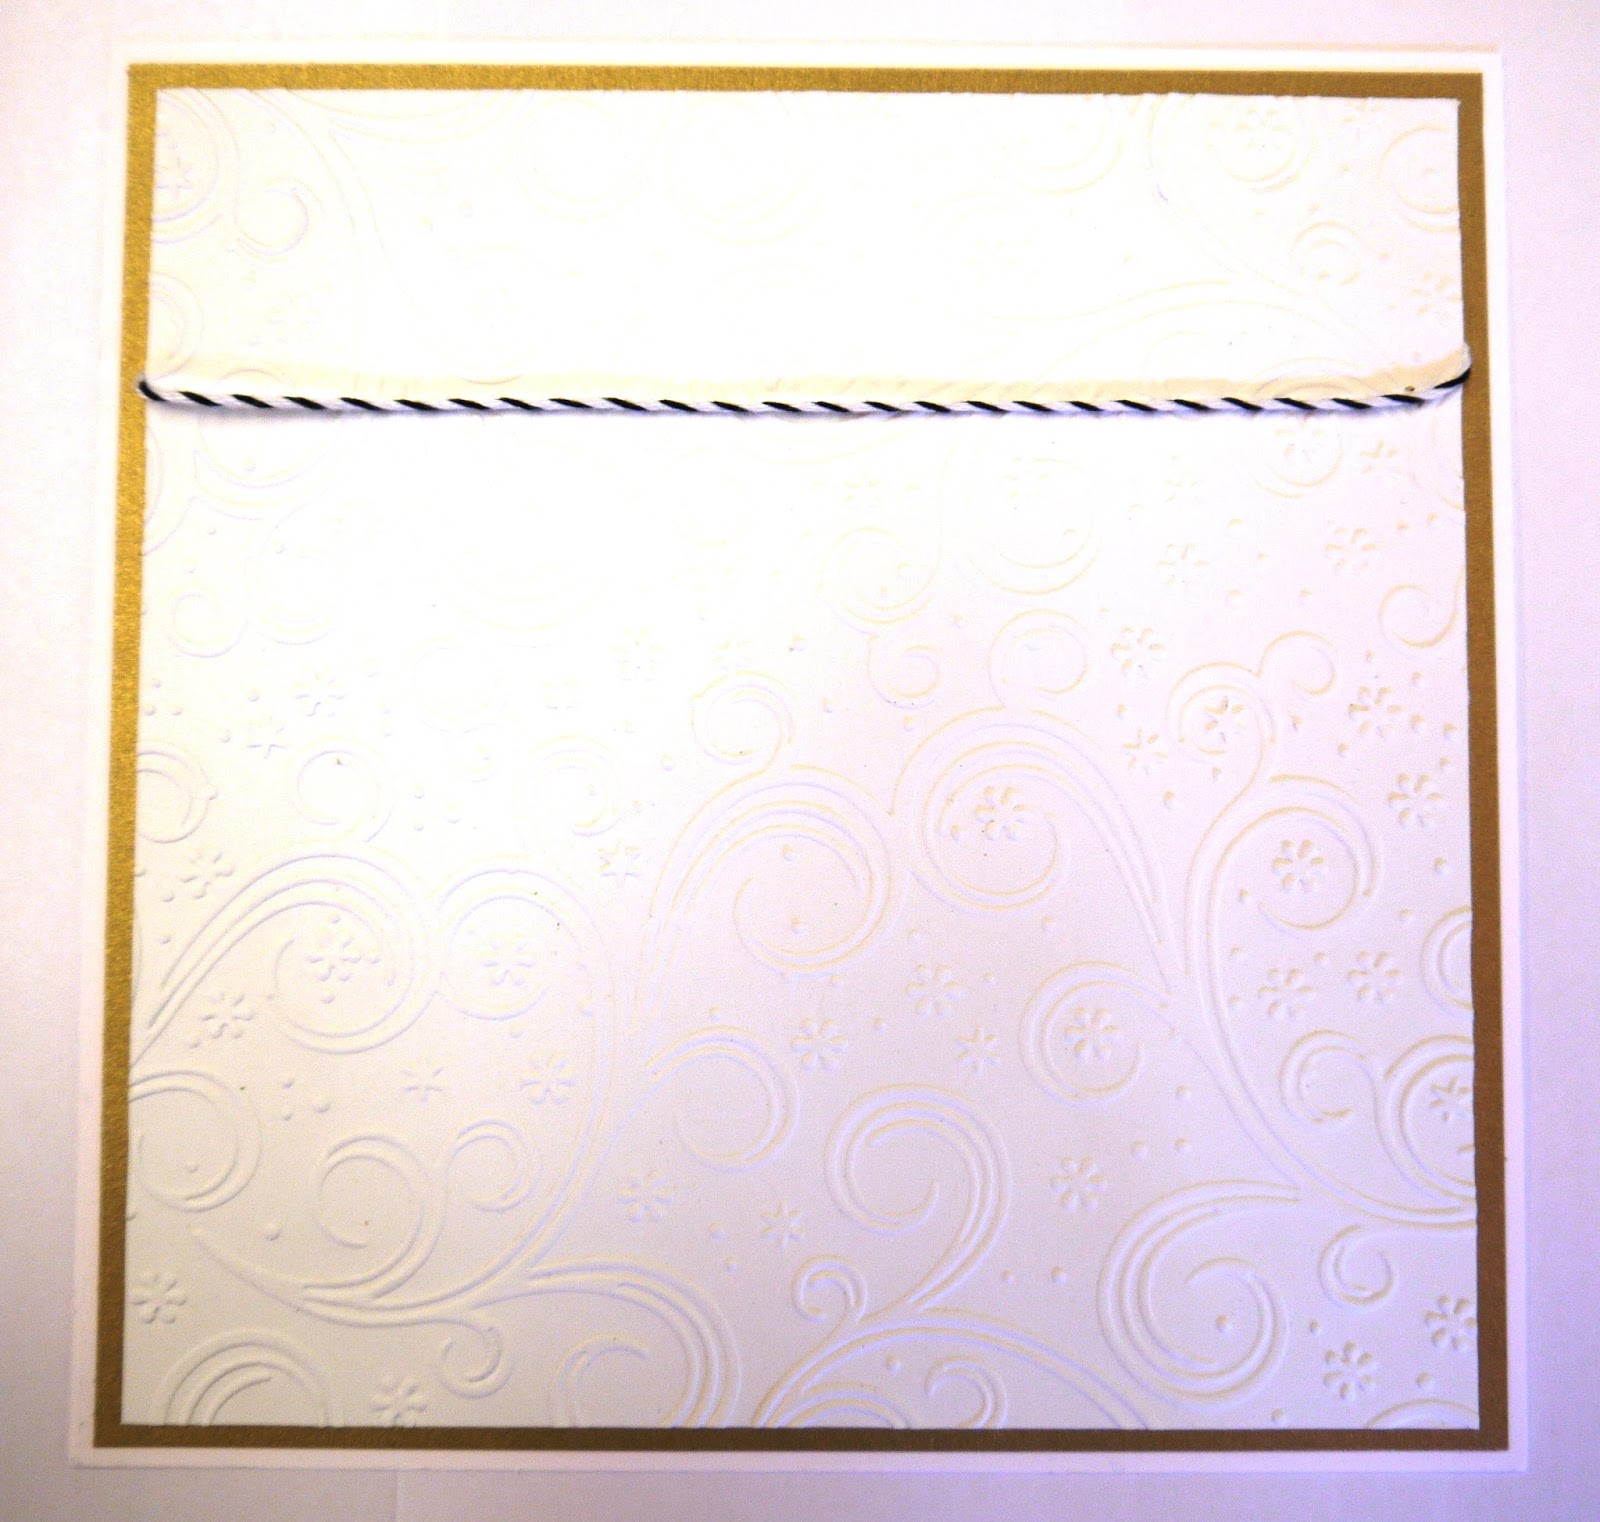
Emboss a piece of Coconut White Card with the A4 Frosty Swirls Folder.
Attach a length of Black/White Bakers Twine before matting and layering onto Foundations Vintage Gold Card.
Die cut 3 Festive Collection-Sentimental Baubles from the Gold card. Emboss them using the same folder. Highlight the raised areas with Cosmic Shimmer Decadent Wine Gilding Wax.
Glue the 2 outer baubles into position and add the 3rd with 3d foam pads.
Cut a strip of the Vintage Gold Card. Cut a thinner strip of White card and emboss with the same folder. Matt and layer.
Using the same die set, cut out the word "Joy"
Glue the strip onto the card and add the word with 3d pads.
Tie 3 bows from Gold Tulle and glue above the baubles.
Add Dazzlers to finish.
And here's the finished card!
It's another quick one to make....always important at Christmas when quite often, we have a lot to make!
Well, that's it for this week. Many thanks for stopping by and leaving comments...always appreciated.
I'll be back next Thursday with another Christmas project so until then, have a happy, crafty week.
Good Morning All and a very Happy Thursday!
Well, I've been tasked by Creative Expressions to make Christmas cards! On the hottest day of the year (so far) I've been thinking snow, carols, trees.....
Anyway, this is the first one of the month for you.
Die Cut the Illuminated Christmas Tree from Foundations Vintage Gold Card.
Emboss a piece of Coconut White Card with the A4 Snowflake Lattice Folder.
Die cut the Finishing Touches Classic 3d Bow using the Vintage Gold Card.
Glue the strip from that set onto the embossed card and trim to size.
Matt and layer onto Vintage Gold card
Glue the tree into position.
Die cut the Finishing Touches 3d Filigree Bow from Coconut White Card. Glue onto the Gold Bow. Fold onto a 3d shape then glue onto the gold strip.
Add a small black Dazzler to the centre of the bow.
Ink up the sentiment from the A5 Filigree Christmas Set with Black Archival and stamp onto Coconut White Card. Heat emboss with Cosmic Shimmer Clear Powder.
Cut into a banner shape. Matt and layer onto Gold Card.
Shape and glue into position.
Add a small Black Dazzler to the tree to finish.
And there's the finished card!
I wanted to make a card that was quick but elegant and would be suitable for a man or woman to receive.
Although the tree is very detailed, it cut beautifully but I would use wax paper to help lift it from the die.
I've used Cosmic Shimmer Dries Clear Glue to stick everything down. Again, the filigree work on the bow and the tree is very detailed and there isn't a lot of room for the glue, but a few drops of this glue works beautifully.
Well, that's about is for this week....I'm going to stand under a cold shower and cool off!
Don't forget to leave a comment if you'd like to be entered for a chance to win the wall hanging. Many thanks for visiting, it is much appreciated.
Until next time, have a happy, crafty week!
Good Morning All and a Very Happy Tuesday.
I hope that those who could make it enjoyed Ally Pally, it's always such a great show.
Today I'm going to do a step by step on one of the cards that I demoed at the show.
I've used the Filigree Poinsettia Stamps and the Festive Collection Classic Poinsettia Dies.
Start by inking up one of the Poinsettia stamps with Perfect Medium. Stamp randomly onto a piece of Coconut White Card and heat emboss with Cosmic Shimmer Bright Gold Powder.
Matt and layer onto Vintage Gold Foundations Card.
Ink up the largest Poinsettia stamp with Perfect Medium and stamp onto a piece of Vintage Gold Card. Heat emboss with the Bright Gold Powder.
Cover 2 of the stamped images with Double Sided Adhesive and apply Cosmic Shimmer Diamond Sprinkles. Die cut with the Classic Poinsettia Dies. Die Cut the 3rd Poinsettia.
Do the same with the smaller Poinsettia stamp, but this time onto Coconut White Card.
Only apply the Diamond Sprinkles to one of the flowers before Die Cutting.
Shape the petals and glue together.
Stamp the sentiment onto white card and heat emboss as before (this sentiment is from the A5 Filigree stamp set).
Cover with Double Sided Adhesive, then add the Diamond Sprinkles before die cutting with the Californian Collection Basic Frames Set A.
Die cut a matt from the Vintage Gold Card using the Californian Collection Decorative Frames Set B.
Cut 3 strips of Double Sided Adhesive of different lengths 1 inch wide, cut into pennant shapes and stick onto the background. Apply the Diamond Sprinkles.
Glue the Poinsettias into position. Add the sentiment with 3d foam pads.
Glue the Finishing Touches Small Circle Dazzlers to the centres of the Poinsettias to finish.
And there's the finished card!
The Filigree Poinsettia Stamps are terrific to work with, they give a wonderful stamped image and are so detailed.
I hope you've enjoyed the tutorial! Next week I'll be back with another card from the demo's and lots more Xmas inspiration...I do hope you'll visit.
In the meantime, many thanks for stopping by and leaving comments. Have a happy, crafty week!