
Today, I've used some of the gorgeous new Sue Wilson Dies and also one of the new Pinpoint Embossing Folders. The biggest surprise to those who know me is that there's NO INK!
Anyway, let's get started......
Die cut the Festive Collection Classic Poinsettias from Ruby Foundations Card.
Die cut the Festive Collection Filigree Poinsettias from Coconut White Card.
Glue the Filigree over the top of the red Poinsettias in the centre of the flowers with Cosmic Shimmer Dries Clear Glue.

Matt and layer onto Ruby Card.
Attach a length of Red Crushed Ribbon to the top right corner.

Gather the centre of the ribbon and glue it down. Tie a double bow using the same ribbon and attach with a glue dot.
Add a Small Fancy Pearl Embellishment to the centre of the bow.

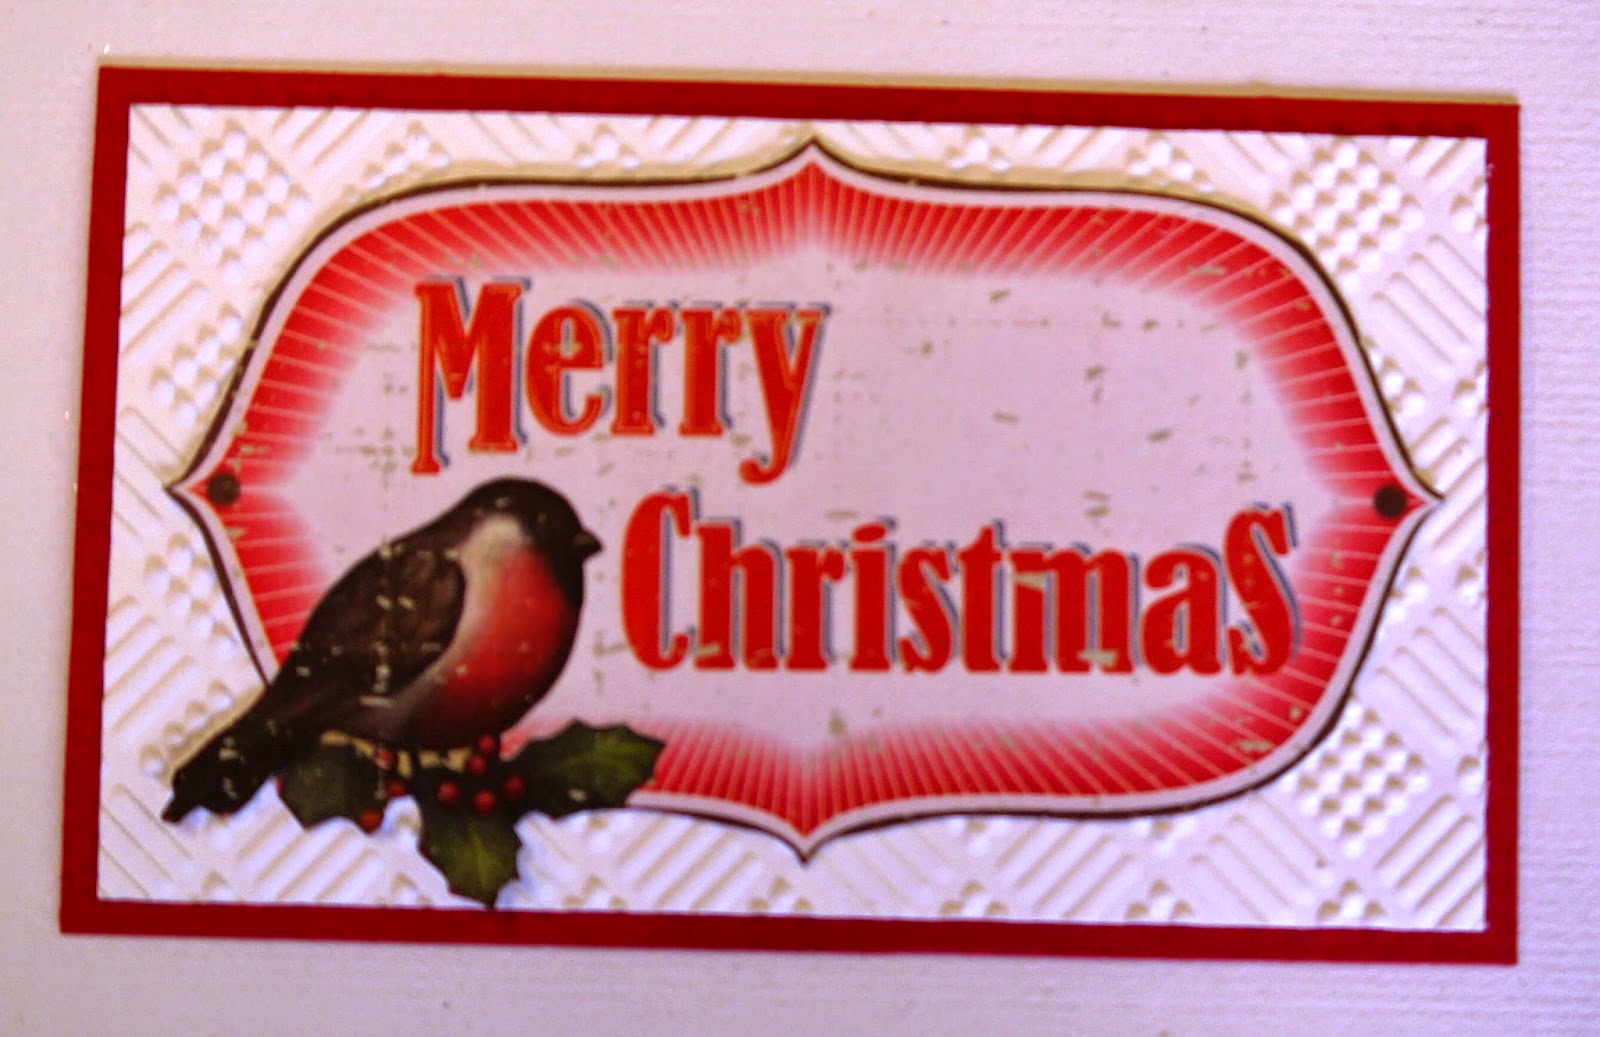
Cut out one of the labels from the Couture Creations Vintage Christmas 12x12 paper pads.
Emboss a smaller piece of Coconut White Card with the same folder as before. Glue the Robin label to the card.
Matt and layer onto Ruby Card.
Attach this to the main card with 3d foam pads.
Glue the Poinsettias into position after shaping the petals.
Add some 5mm and 8mm Self Adhesive Pearls to the centres of the Poinsettias and also to the Robin Label.
Cut the Self Adhesive Snowflake Swirl Embellishment into sections and stick some down onto the card.

And there's the finished card! I hope you like it.
Many thanks to everyone who came to the workshop on Saturday....I hope you enjoyed it as much as I did and that you've managed to get all the ink off your hands!
I'm very excited as it's the Grand Northern Ukulele Festival this weekend so I'm off to practice now....in between putting some demo's together for Ally Pally the following weekend.
Until next time, have a very happy, crafty week and many thanks for visiting.
5 comments:
A simply stunning card and very elegant. Hope you are well. Love and Hugs x ChrisB
I absolutely love this cardxx Thank you for a lovely crafty sunday it was great funxxx
Loving this card, so beautiful, so elegant.
This is a gorgeous card. I do lie poinsettias. Hugs Jackie
Hi Pam, another beautiful card. I do love Sue's dies....and stamps....and EF's....! "Thank you" Pam for the inspiration xx Love Karen xx
Post a Comment