Bright and Cheerful
Good Morning All, hope you had a great Bank Holiday. For once we were lucky with the weather which is why I thought I'd make a really cheerful, colourful card to celebrate Spring!
I've used one of the new Singles range of stamps from Creative Expressions for this one. There are 2 stamps in the pack and it's called "Tulip Spray". Anyway, here goes with the step by step....
Stamp the triple stem tulip around the edge of the blank card with Black Archival Ink.
Paint the leaves with Shabby Shutters Distress Ink and the flower heads with Picked Raspberry.
Cut some Heather, Raspberry and Coconut White Foundations cardstock to size. Using the piece of Coconut White, dab some Shabby Shutters Distress Ink through the Leaves Mask. Emboss using the Couture Creations Hyper Magical Folder. Matt and layer.
Using both of the flowers in the set, stamp them onto Coconut White Card with Black Archival Ink. Paint using the same Distress Inks as before. Cut them out and arrange them on the card. Glue the bottom layer into place with Cosmic Shimmer Dries Clear Glue and add the rest with 3d foam pads.
Tie a triple bow with white seam binding. Spritz with water and scrumple up. Dry with a heat gun. Very gently, apply Picked Raspberry Ink. Glue into place and add a Dazzler to the centre.
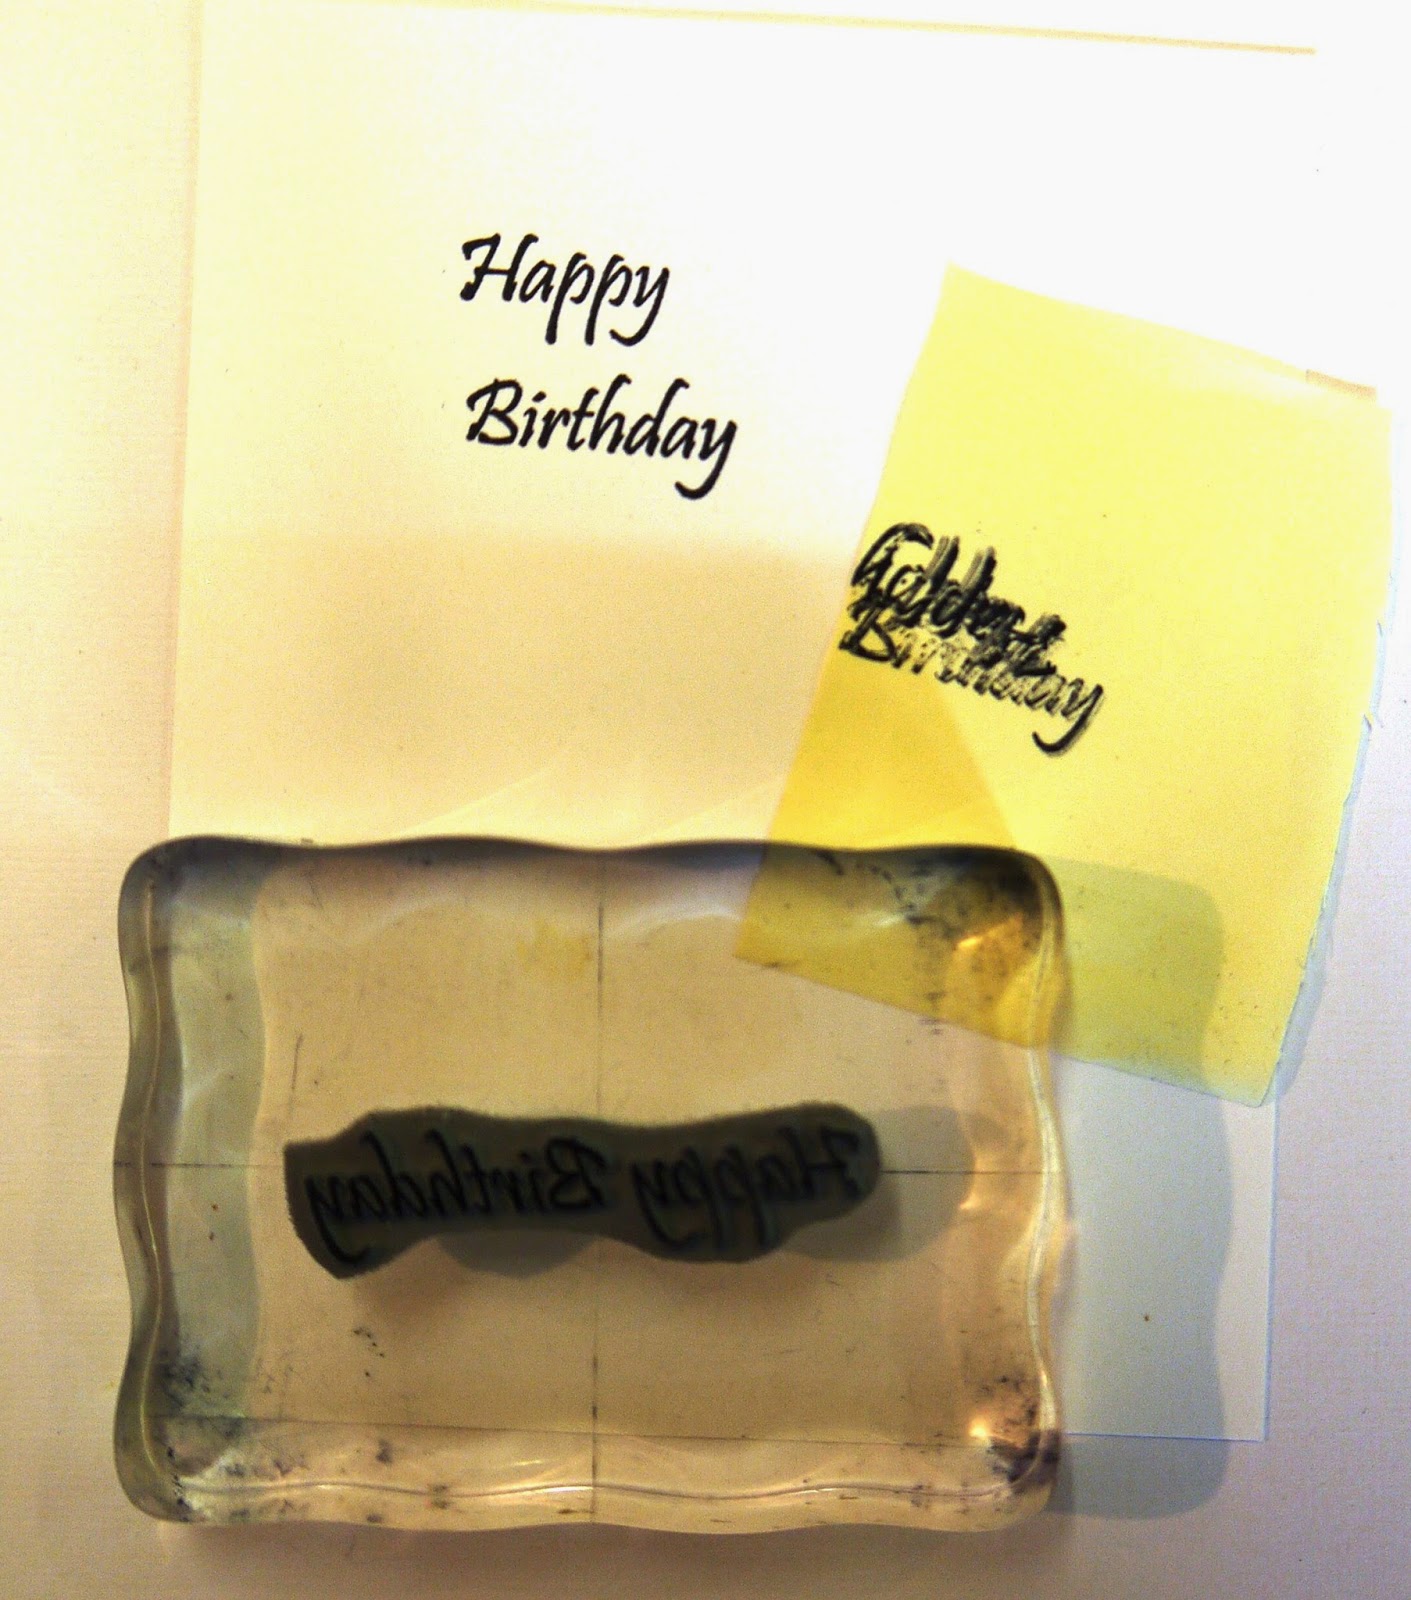
Stamp the "Happy Birthday" sentiment which comes in the Earthenware Vase set onto Coconut White Card. To do this, mask off one word at a time so that you can stamp Birthday under the Happy.
Die cut the sentiment using Spellbinder Labels H Dies. With the die still in place, apply Shabby Shutters Distress Ink.
Draw around the outer edge of the die onto Raspberry Card and cut out. Matt and layer. Use 3d foam pads to stick it on the card.
To finish, apply some Cosmic Shimmer Aurora Sparkle Texture Paste to the flowers using a cotton bud.
And here's the finished project! Something that would brighten anyone's day!
Well, I promised a photo of the new storage in my studio and this time, I'm determined to keep it tidy!!
I'm hoping I can find a group for addicts of paper, card and ribbon as I appear to have a serious problem! I'm too ashamed to show the unit with all the ribbons in and I managed to cut off most of the bottom row on this photo that has my "good" papers housed in it!
That's about it for today, hope you liked the project and that you'll join me tomorrow for a project using one of the new Nautical Themed stamps designed by Sam Poole at Creative Studios. Everything I've used today is available from Creative Expressions.
To finish, just a reminder that I'll be having an "Open House" on Sunday 11th May so come along and have a play with the new stamps and masks. Hope to see you there!
Many thanks for visiting and leaving comments.


No comments:
Post a Comment