About Me

My photo
Hi, I'm Pam and thank you for visiting my blog. I have been making cards for over 10 years and am an independent demonstrator for Creative Expressions. I am lucky enough to teach on cruise ships and also get the chance to demo at The Big Stamping and Scrapbooking Show at Alexander Palace. I run workshops for a local craft shop and if anyone would like details of the them please e-mail me at stephen.smith870@ntlworld.com I love to scrapbook but my all time favourite thing is to get messy with ink!

Sunday, 14 April 2013

Bags are packed!

I saw this in Craft Stamper and thought "What a Good Idea" so I hightailed it up to my nearest DIY store and came home with a fistful of paint swatches in various colours!
I've stamped up the flower and swirls with Black Archival ink....be careful when stamping as the swatches are on a glossy card.  I stamped and heat embossed the message and distressed around the edge with Dusty Concord Ink.
It's a really quick (and VERY cheap) card to make.
As per the header for this post...my bags are packed and I'm ready to go...I feel a song coming on.
We're off on the good old Saga Sapphire as my better half (his words) is working.....well talking about his favourite subject, comedy music and singing and playing the guitar.  I get to go along as his guest and roadie.  I also get to play the tambourine for one song!
We'll be setting sail at 16.00hrs (very nautical!) from Southampton.  I'll try to keep in touch while we're away and let you know where I am but if things get a bit sketchy over the next 3 weeks please accept my apologies.
Thank you for visiting and don't forget the candy!

Saturday, 13 April 2013

Ally Pally Sample

Happy Ally Pally everyone!
Here's a sample I made for the show using the Silver Gilding Flakes.
I covered a piece of wood with Tim Holtz paper and using a piece of Cut 'n Dry foam swiped the gilding glue around the edge.  Then with another piece of foam I applied some Eco-Green Acrylic paint in black.  I did the same to the smaller heart which I also stamped a message on and highlighted some of the words with Crystal Lacquer.
For the larger heart, I covered it with the same paper but this time stamped images from the "Falling Leaves" set of stamps using the gilding glue.  The silver gilding flakes went on next.
The 2 roses are made from a stamp in the Button Floral set (Hels used it in her C&C show last week) and the other flower is a Spellbinder Die.  I've dipped them in my Melt Pot with clear UTEE.
Everything I've used is available from Creative Expressions (apart from the wood and the hearts...they were in my stash!) 
Hope you like it and maybe you'll come to the demo and see the "real thing!"
Hope you all have a good day and thanks for visiting.

Friday, 12 April 2013

PVA Crackle

Today's offering is a card we'll be making at the May 18th workshop at Martells in Cliftonville.
I used a size 8 tag and painted it with blue Eco Green acrylic paint then applied a layer of PVA glue.  Dried it a little then painted over it with white acrylic.  Next, heat up wuth your heat gun and crackles will appear.  I very gently applied Black Soot Distress Ink around the edges.
The stamps are from Creative Expressions.
The background was made using Faded Jeans Distress Ink and a wet smooshing technique.  I roughed up the edges with a pair of scissors then distressed with Black Soot again.
This is only a very quick post as we're off to Ally Pally at 7am and we still need to load the car up and I need more tea!!
Hope to see you there and thanks for stopping by. 

Thursday, 11 April 2013

One of the Demo's

I thought I'd show you something I've been getting ready for Ally Pally on Saturday.
This is such a nice easy card to make and would be great for a wedding or maybe a Golden Anniversary.
First of all I applied the double sided adhesive sheet to the back of some heat embossable acetate.  Next, apply gilding flakes after making sure that your blown air wall heater isn't going to come on!  The images were stamped with Black Archival and heat embossed with Cosmic Shimmer Clear Powder.....tip....use an anti static bag over the acetate before you stamp.  Also, although the acetate is able to take some heat, don't leave the heat gun in one position for too long.  Make sure you move it on as soon as the powder has turned.
Everything was matted and layered onto black and white card.  The faux pearls around the edge are 2 different colours of Cosmic Shimmer Pearl Glue.  If you look carefully under the bow you can see a small metal charm that I've also applied gilding flakes to (it was silver).  Just put some of the special gilding glue onto a piece of Cut 'n Dry foam and dab onto the charm then add the flakes and buff off.   I made a double bow with some seam binding and added a dazzler to finish.  Everything is available from Creative Expressions.
Thank you to everyone who stopped by yesterday and left such lovely comments.  I'm going to try and visit a few more blogs today...apologies if I don't get to everyone.
The packing is almost done for the cruise and the samples are almost finished for Ally Pally.  Just one more tag art for the afternoon demo and one more gilding flake demo for the morning.  Then it's bags packed and leave home at 7am.  If all goes well we should be at Ally Pally about 9am ready to help Sue set up the Rubbernecker stand.
Did you catch her shows yesterday...what great ideas with the Spellbinders.  If you missed any (or have no idea what I'm talking about) you can see some of Sue's beautiful cards on her blog which she posts EVERY day.  Visit:  http://particraft.blogspot.com
Anyway, enough waffling from me.  Off to the studio to finish off and hope to see some of you on Saturday.

Wednesday, 10 April 2013

WOYWW

Happy WOYWW to one and all.
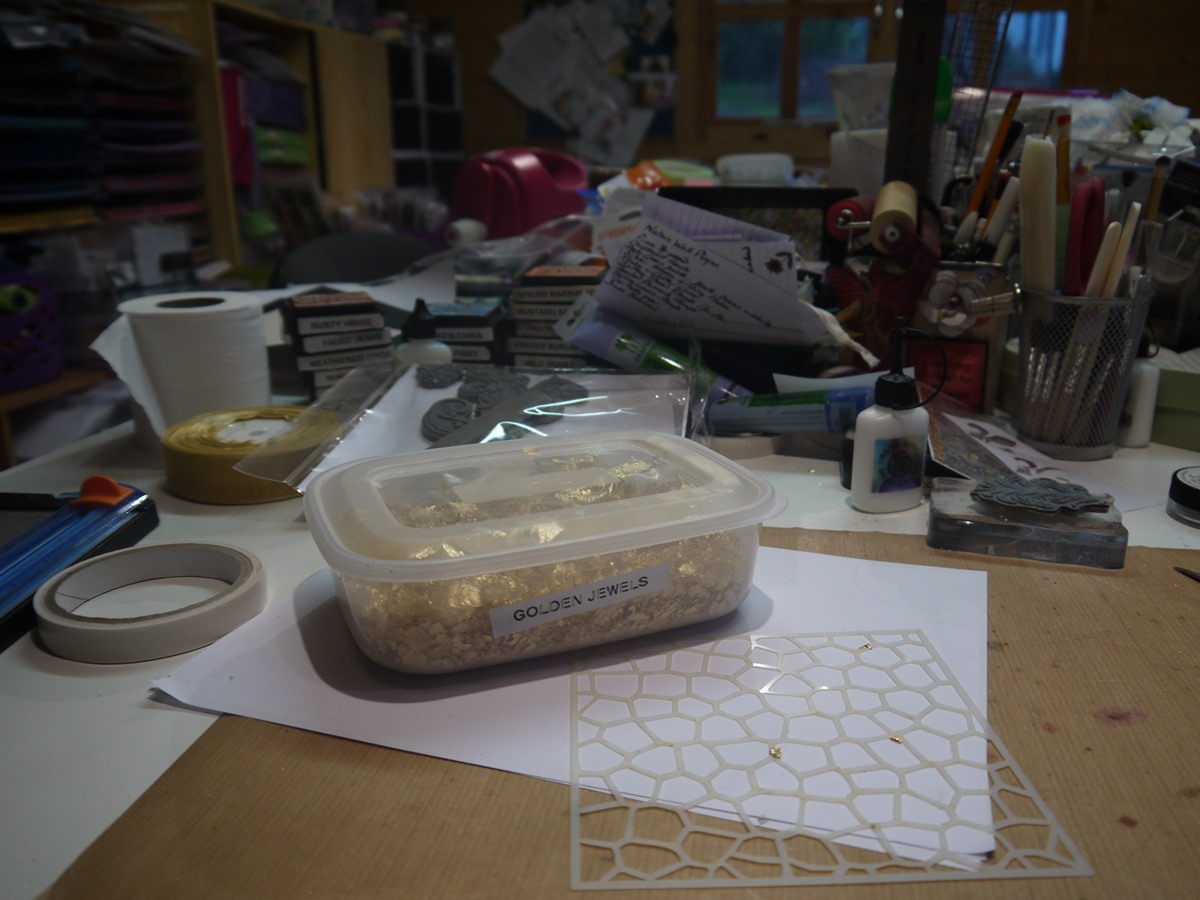
Well as you can see, mine is a complete mess again!
I've been working on demo samples for Ally Pally and have had a great time covering myself and everything else with gilding flakes.  I've warned the family that they had better not stay still for too long otherwise I'll gild them as well! 
I've also been playing with some home décor which is something I've never really done before but have fallen in love with.
For this one I've used the Studio490 Art Parts.  The stamps are by Sam Poole for Creative Expressions and are the Vintage Baking set.  I bought them ages ago and had forgotten about them but they seemed just right for this wall hanging.  The roses were made from the Button Floral stamp set (again Sam and CE).  They've been dipped in the Melt Pot with clear UTEE as have all the little stamped images and the message.  I cut out the shape for the message before I dipped in in the UTEE.  I didn't have the right size die for the matt so I drew around the outside of the shape and cut it out by hand.  It's a great way of getting more from your dies.
The papers are from a Tim Holtz pad.
I used some wire that I twisted around a pencil for the hanger and added some ribbon scraps to finish.
Hope you like it.
Getting VERY excited about Ally Pally now.  I do love to demo and have got some lovely projects ready with the gilding flakes so hope to see some of you there.....if only to see how much of a mess I can get in.....that glue is soooo strong!!
Don't forget Sue is on C&C and Ideal World today with her amazing Spellbinder shows.  Come and see her on the Rubbernecker stand at Ally Pally this weekend.  Sam Poole will be on the Creative Expressions stand as will Julia Watts and on Sunday they'll be joined by Hels and Leonie.
The blog candy is still up for grabs.  To enter, find the posting further down and follow the instructions.
Right, back to the studio to prep for the afternoon demo!
Thank you so much for visiting and leaving comments.

Tuesday, 9 April 2013

Mixing it up

I do wish that the photo had come out better!
You're going to have to use your imagination a bit with this.
The background was made by inking up a mask with Perfect Medium, running it through the Grand Calibur with black card then adding clear embossing powder and heating.  Tip: use your anti-static bag on the card before you start!
The tag was a really cheap and nasty one from a stationers..I don't think they'd recognise it now!
I inked it up with Perfect Medium and added UTEE then heated.  Next I got a teaspoon and added some silver and black emboss powders (Cosmic Shimmer) in different areas on the tag and heated again.  I always let it cool and then apply Perfect Medium between each stage.  When you're happy with the coverage, heat it again and, using a teaspoon, add some Luna Silver Mica Flakes and Micro Beads.  They stick really well into the UTEE.
The tag was put on with 3d foam pads after I'd removed the string and added some ribbon instead.
In real life the card is very sparkly.  It's one that we're making at the May 18th workshop at Martells.  Hope you like it.
The very fab Sue Wilson has a Pick of the Day on Create & Craft from 9pm tonight so don't miss the shows....they're bound to be fab.
I'm up to my neck in packing for the cruise.  I'm sure that most of the clothes have a sprinkling of gilding flakes on them!  It's a fairly tight schedule as we get home from Ally Pally on Saturday evening and leave for the cruise on Sunday morning.  This is where organisation comes into it's own....does anyone know where I can buy some!!
Back down to the studio for more sample making ready for Saturday.  Hope you all have a fun, crafty day and thank you for visiting.

Monday, 8 April 2013

Floral Wall Hanging

 This is definitely something very different for me!  I don't usually do "pretty" being a much more grungy type but I had a lot of fun with this.
I bought a shaped plaque from Ally Pally last September which has sat unloved in a cupboard ever since so I thought it was time to give it a new lease of life!
It's been covered with Tim Holtz paper which was distressed around the edge with Weathered Wood ink.
The flowers are a mix of some Paper Artsy Stamps and Spellbinder Dies.  The leaves and swirls are all Spellbinder dies as well.  I've stamped some images and words from stamps in my stash.  The bird was another unloved bit of stash from my cupboard which I've painted with white acrylic paint then stamped with swirls.
I've put a piccie on showing a bit of a close up.
That's it for today, thanks for visiting.  Hope you like the finished project.